|
 
| |
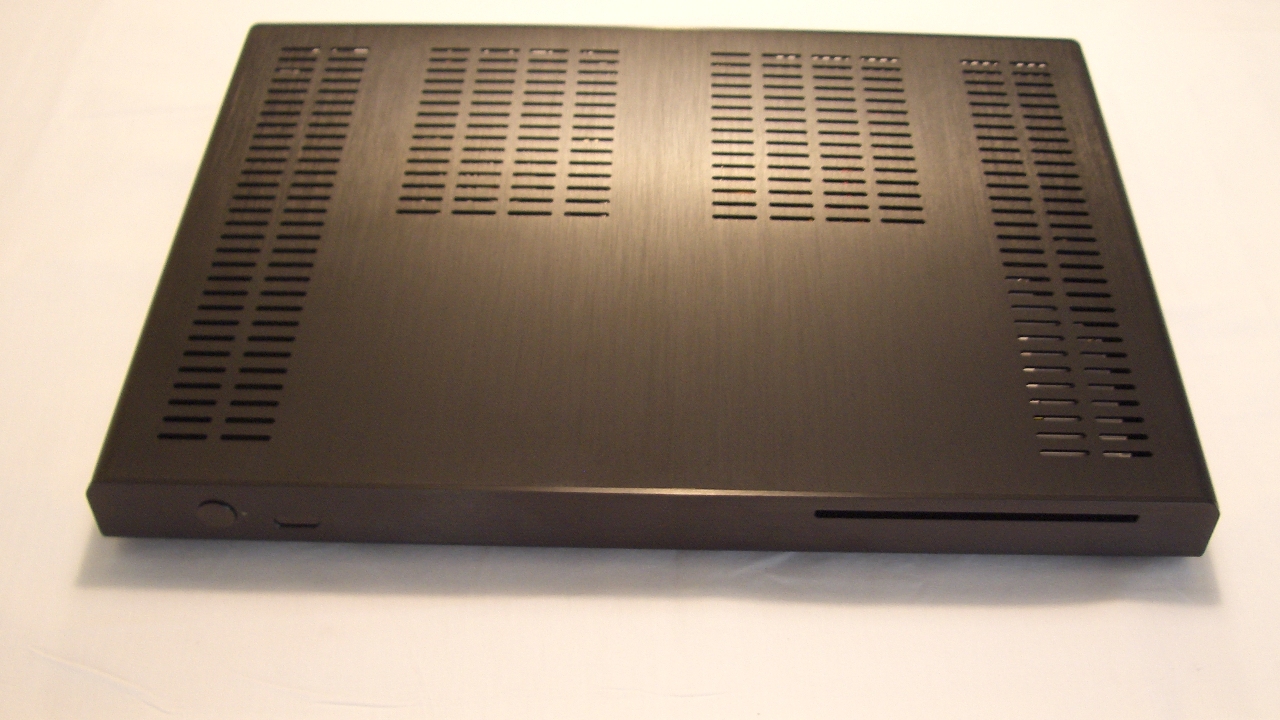
My
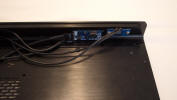
new, ultra slim HTPC built on Thin-ITX-6-Black chassis.
I just figured out couple
days ago, that after
seven years my HTPC built on OrigenS16V should retire and that it is time for
new one. The old HTPC had full ATX motherboard, dual core Intel CPU, but this
time I have chosen Thin-Mini-ITX motherboard. Technology changed so much that
current Thin-Mini-ITX motherboard with Haswell i5-4460 CPU are much better than
old stuff I still have.
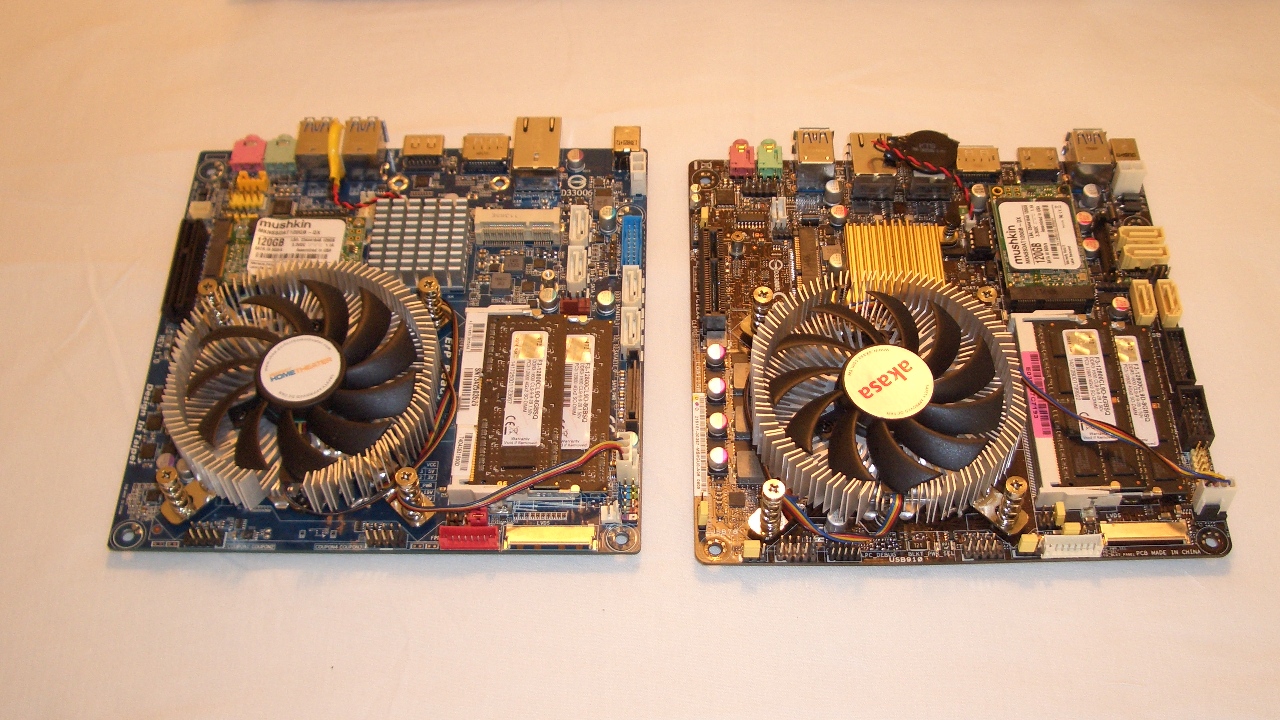
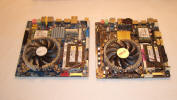
After testing several options for couple of weeks I recommend and I have chosen
Gigabyte GA-H87TN and ASUS Q87T for such systems.
I have chosen T-ITX-6-Black
chassis and ASUS Q87T for my new HTPC. (I will use GA-H87TN for new music
server.) I have chosen ASUS because it offers UHD video output, so it is future
proof and because of Fan-Xpert utility.
Opening chassis is simple:
Put chassis on clean area upside down, remove four screws from the bottom and
loose four screws keeping
front and bottom panel together.
Now gently turn it over,
remove cover and put it aside.
I always assembly motherboard and test it first, BEFORE inserting it in any
chassis. I set BIOS and keep MoBo running for several hours checking
temperatures. After than, when everything is perfect, I install WIN7, all
drivers, test it again and start final assembly.
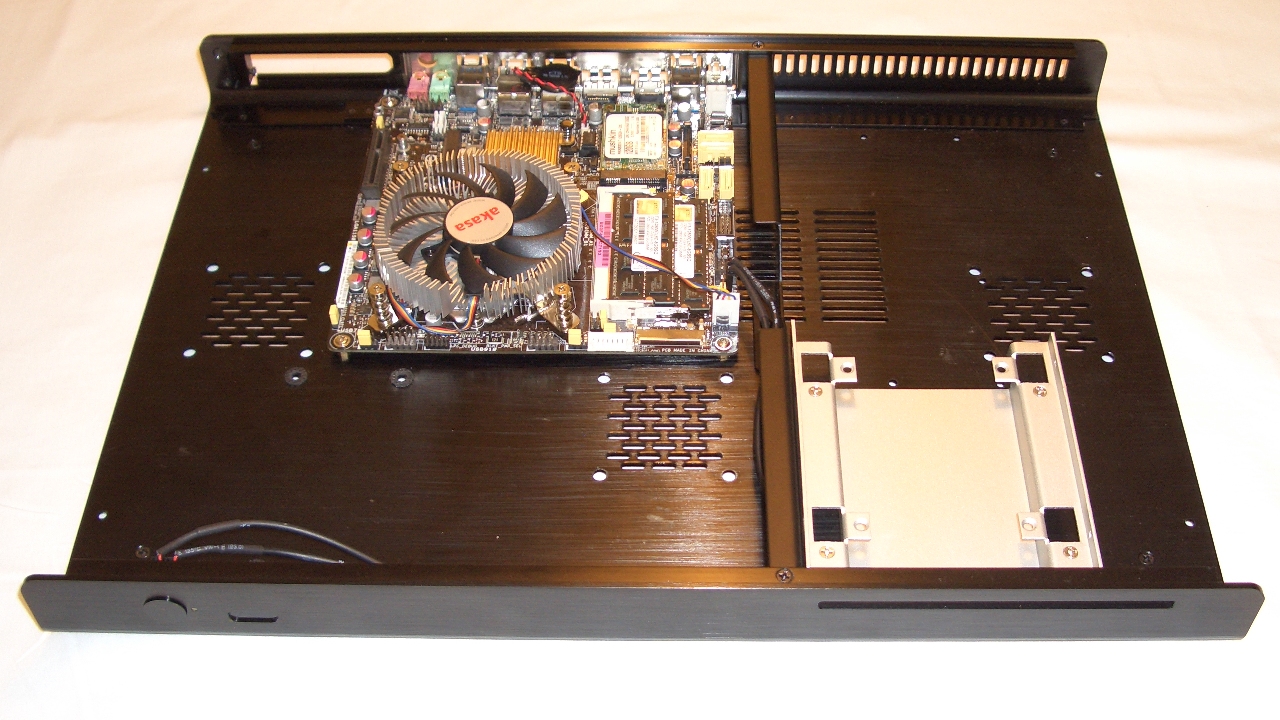
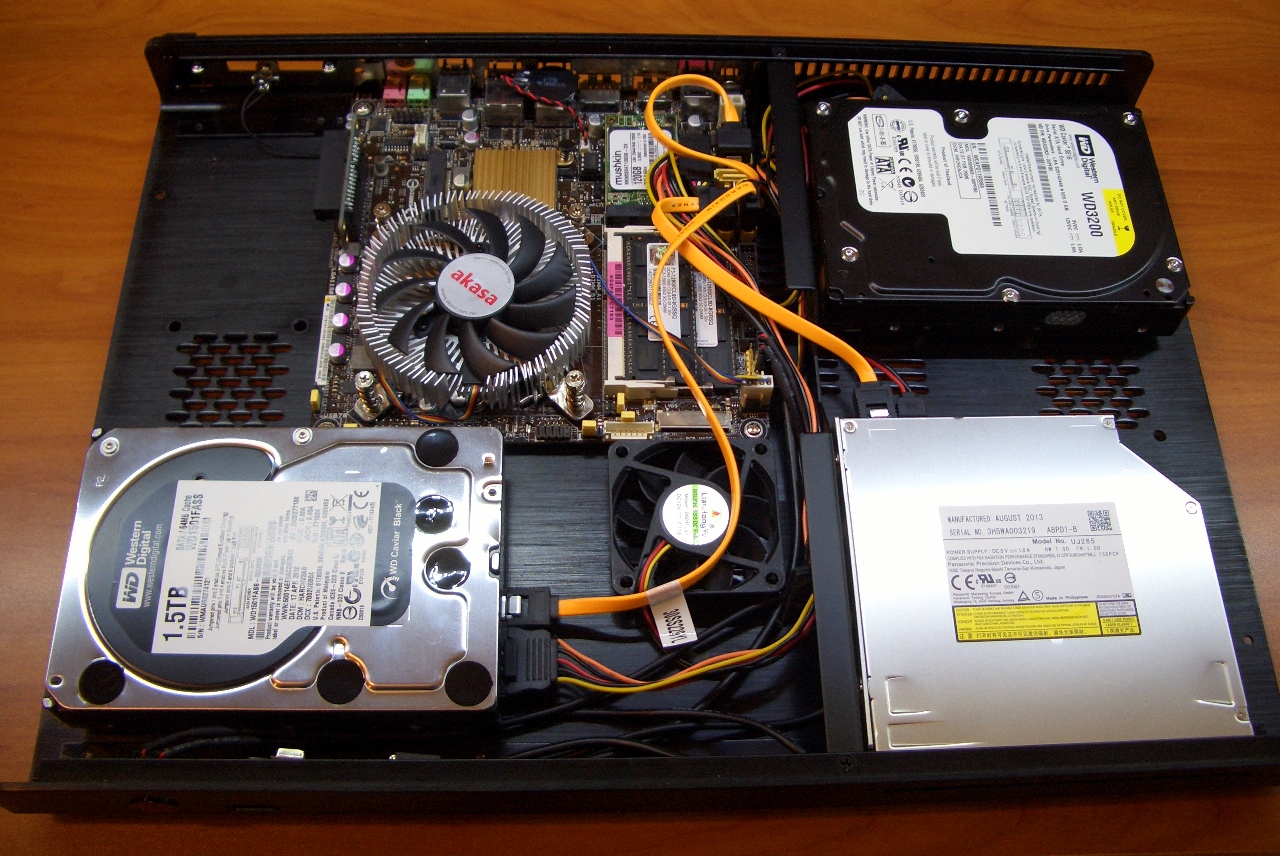
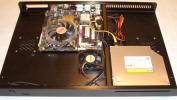
I installed back plate, than (fully assembled) motherboard.

When looking at pictures
please disregard scratches on the chassis. This is a prototype I assembled back
and forth many times when testing several options.
There is space for
two 3.5” HDDS and one 2.5” HDD under ODD. If you remove ODD bracket you can
install three 3.5” HDDs, so it can be high capacity (up to 18 TB) HTPC.
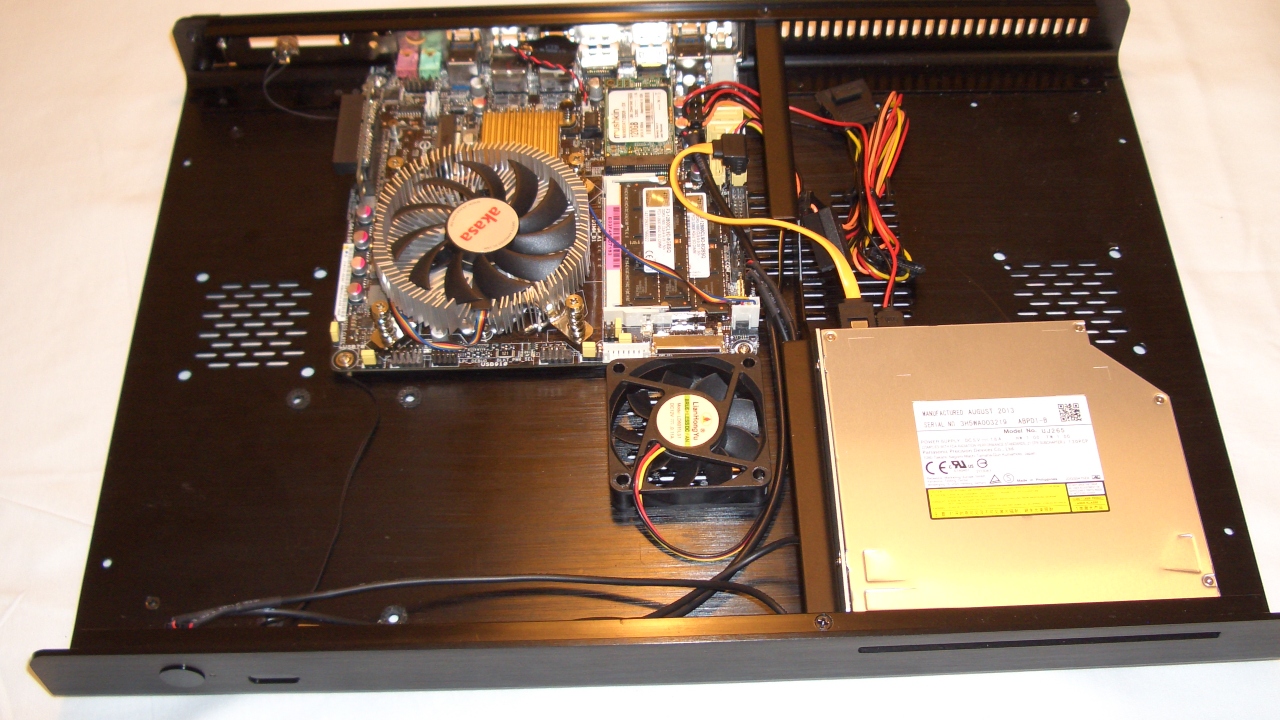
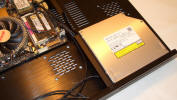
Next – optical drive. I installed ODD, just in case I want to watch something
straight from the disc.
I inserted two screws on the right but didn’t tighten them yet. Then two on the
left and tighten all of them slightly.
|
I installed IR
receiver as well. |
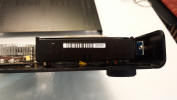
Than I connected
5” SATA and power cables to ODD |
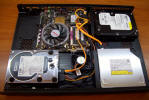
I decided to add case
fan, however I am sure that in this system, CPU fan is enough to keep
this chassis cool. I didn’t install any HDDs neither cards in my HTPC.
This system will stream all videos from video servers and TV tuners. |
 |
 |
 |
| |
|
|
|
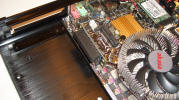
If you want to
install Ceton tuner or SOtM tX-USBexp
USB audio card,
there is PCIe 4x or PCIe 1x riser offered as an option with this chassis. |
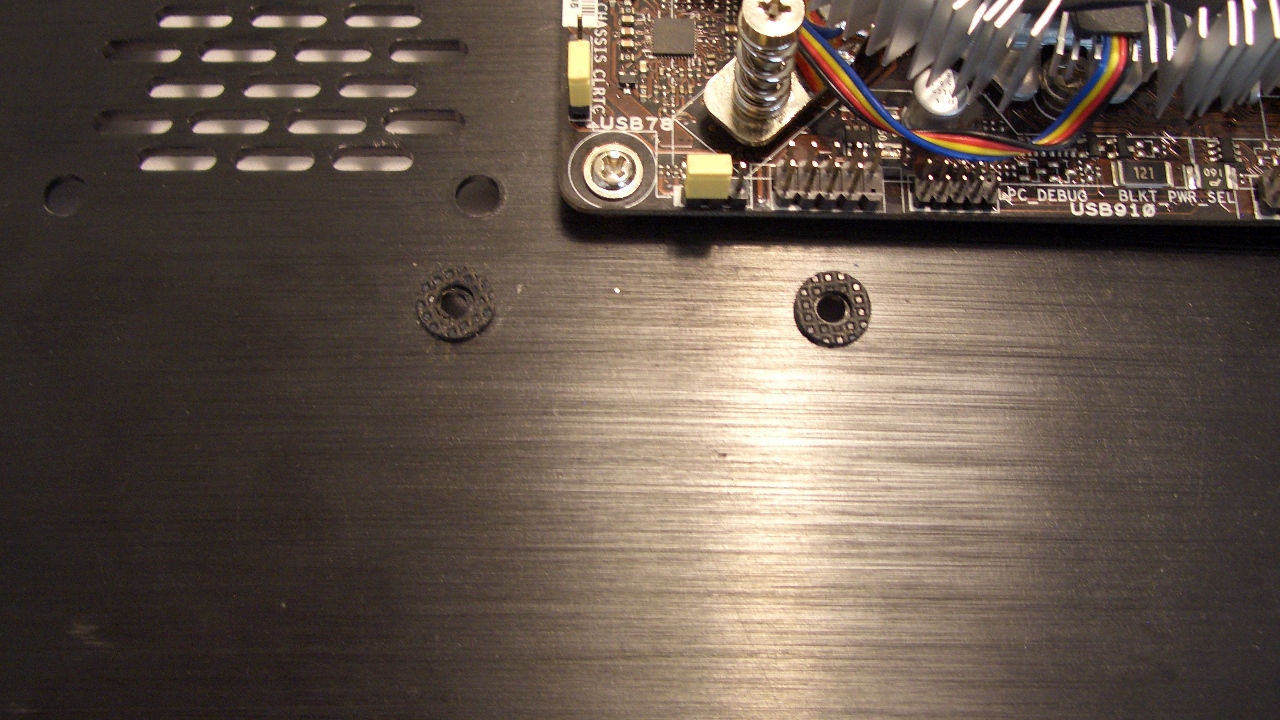
If you install HDD,
you have to stick rubber rings in all places when HDDs will be installed
first. |
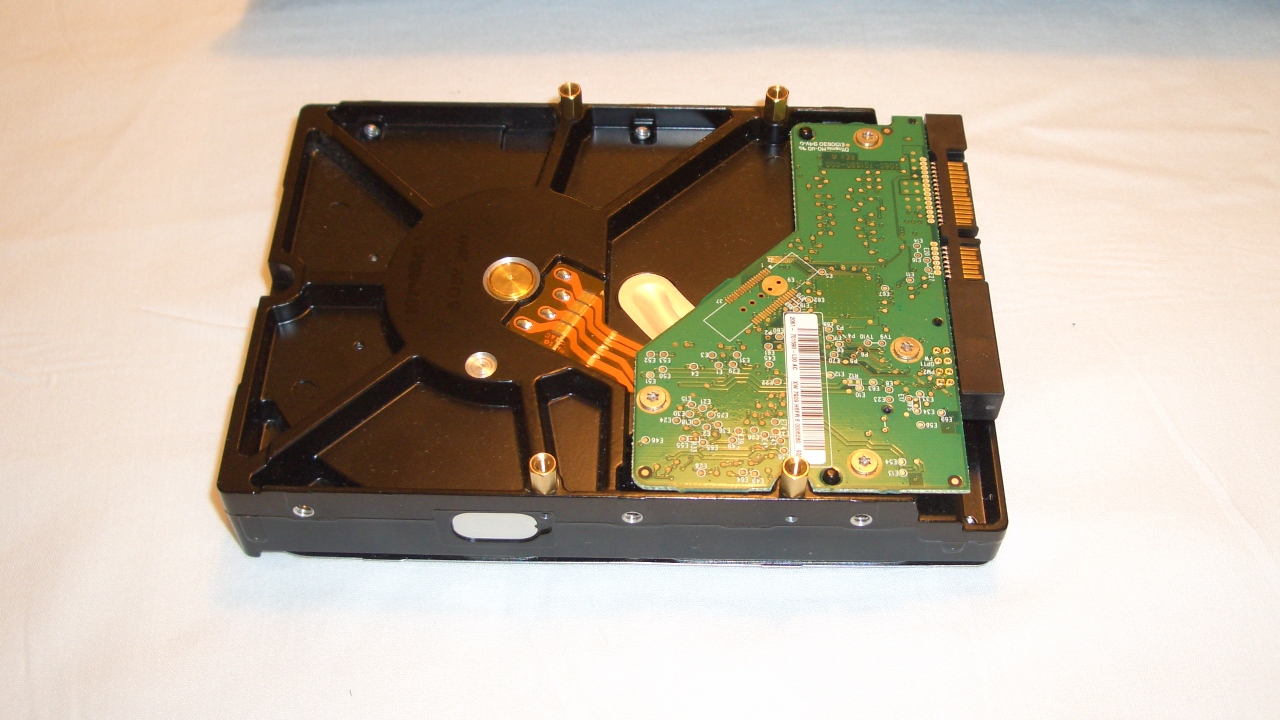
Next, install four
posts in HDD like shown here. |
 |
 |
 |
| |
|
|
|
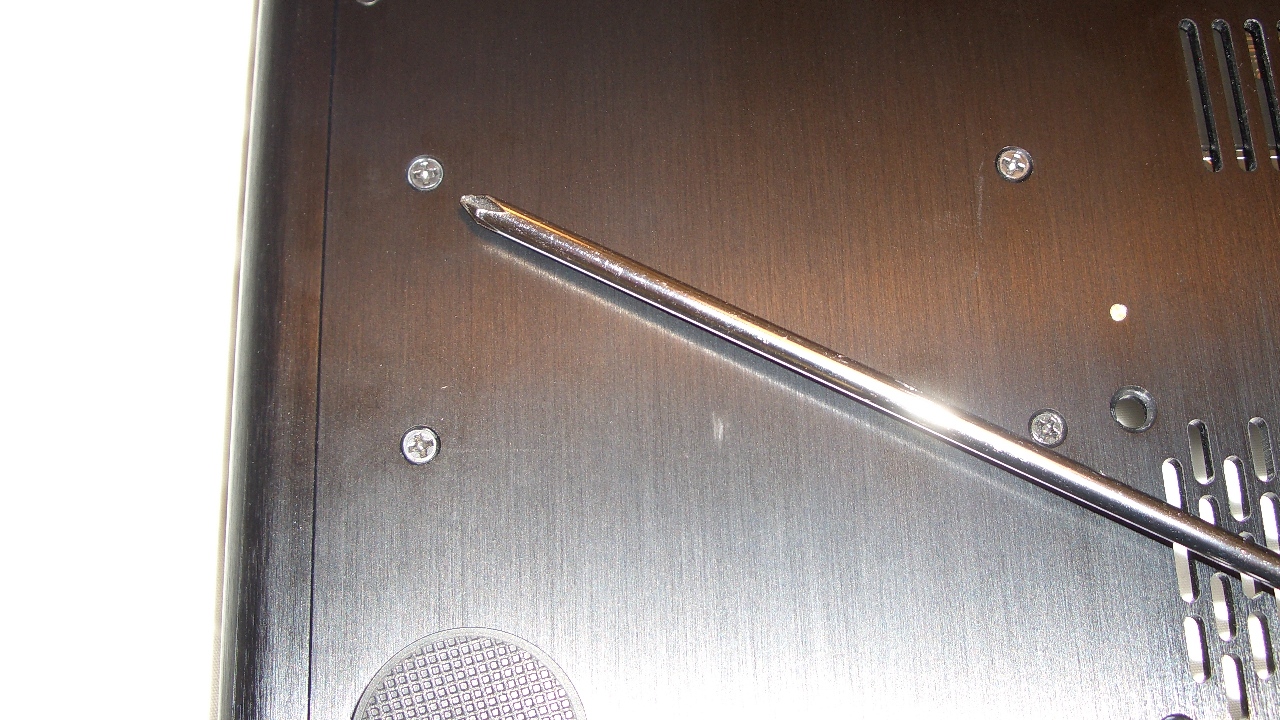
Now fasten HDD to
chassis floor by supplied M3X5 screws. |
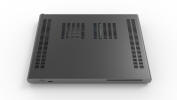
Because HDDs are
standing on posts, there is a space for air circulation to cool
electronics and it allows you to connect and disconnect HDD cables in an
easy way. |
|
 |
 |
|
|
|
|
|
|
|
|
|
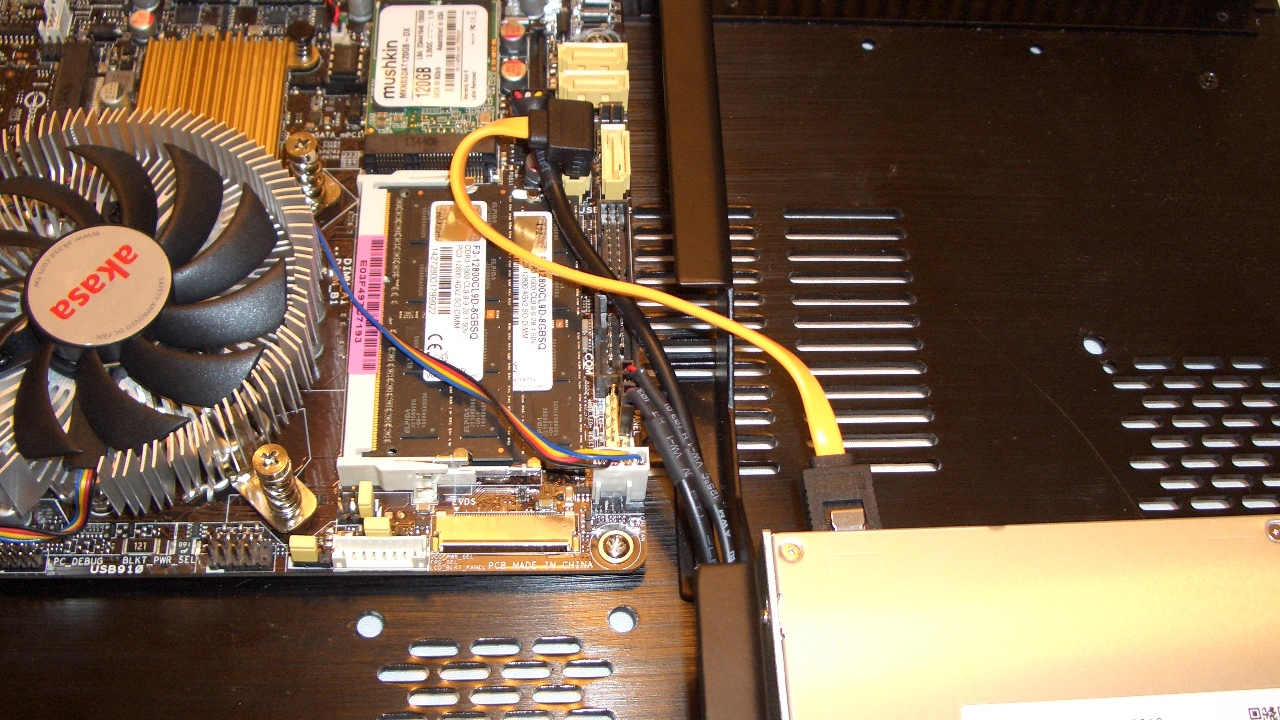
Connecting power is
simple. Both manufacturers offer proprietary power cables with dedicated power
connector for ODDs. Very good idea, you don’t have to use special cable for
slot drivers with old and terrible (IMO) Molex connector. I didn’t cut spare
power cables because I may change mind later and install 3.5” HDDs, so I just
tied them up.

Attention: When you install HDD on the
right, behind ODD connect cables first BEFORE attaching HDD to the floor.
Connecting cables to HDD under bracket is possible, but it will be difficult.
|
I installed two WD HDDs to check if
there is enough cooling provided by CPU fan and one case fan. |
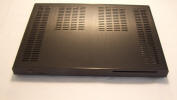
Finally, I put cover back,
tested it again and connected to my system. |
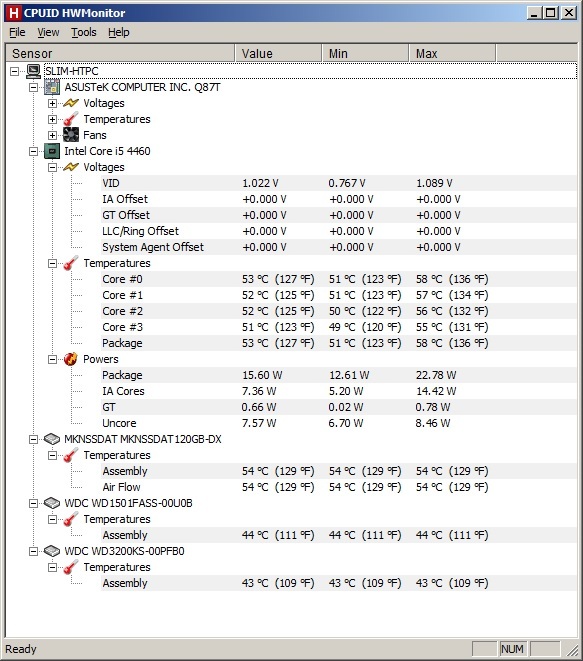
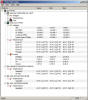
I was recording
three HD programs and played Baraka from another HDD. After 30
minutes I checked temperatures |
 |
 |
 |
When I have a time I will
calibrate this HTPC to get the best picture possible. (Looks great already but
I want it perfect)
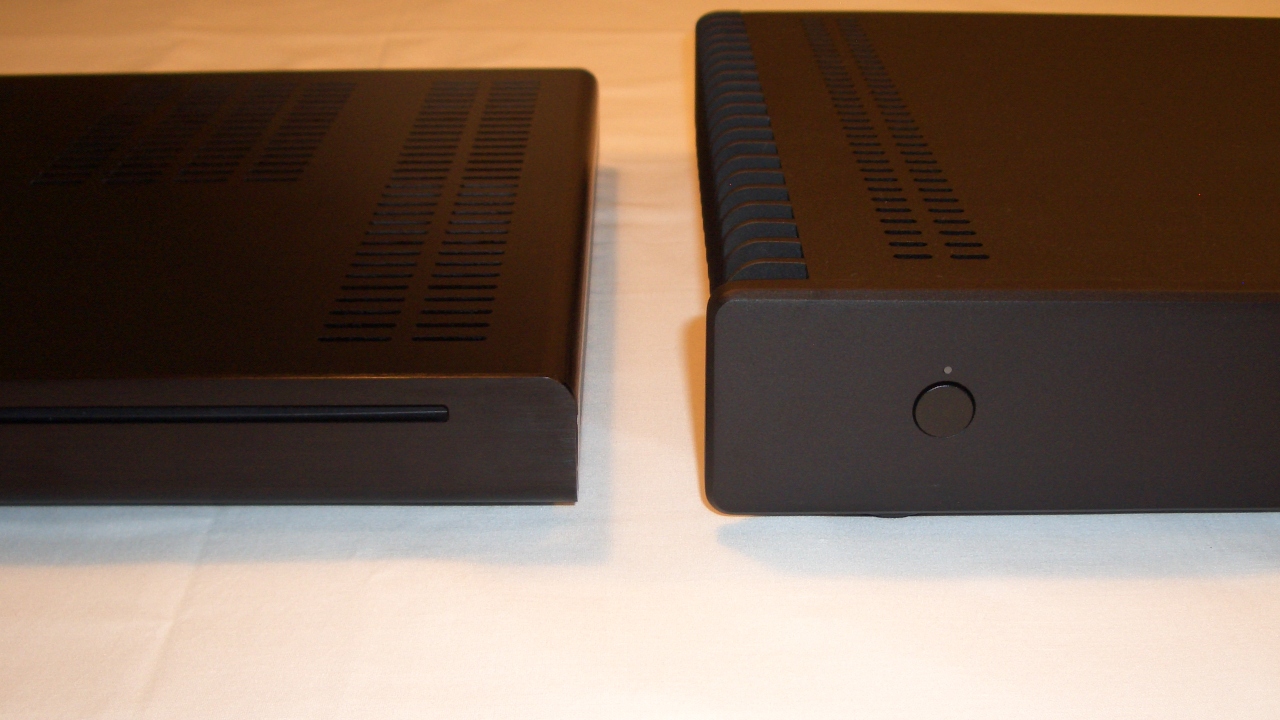
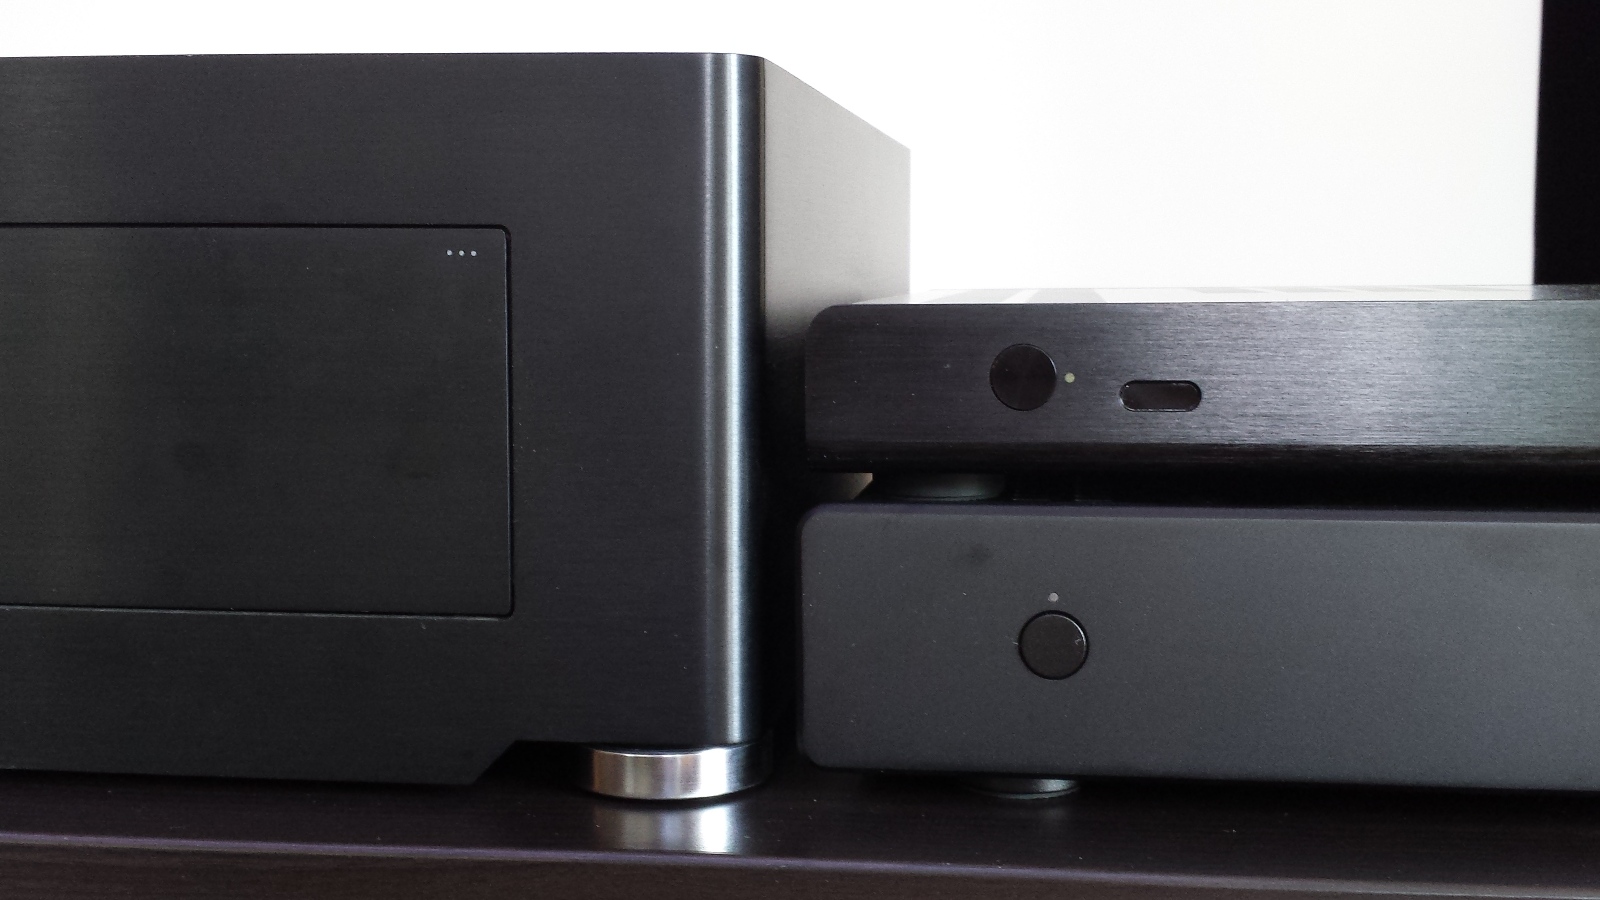
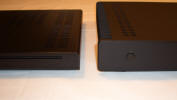
I compared it to my music server built on FC5WS. HTPC is much slimmer, 48mm vs
71mm total, 39mm vs 64mm front fascia.
|
T-ITX-6 vs FC5WS |
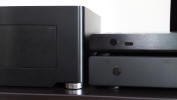
Origen S16V compared to T-ITX-6 and
FC5WS |
|
 |
 |
|
Is this the slimmest HTPC yet?
|