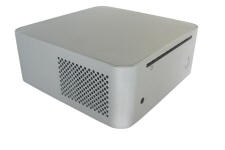
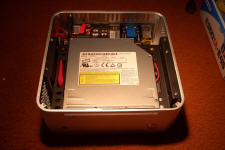
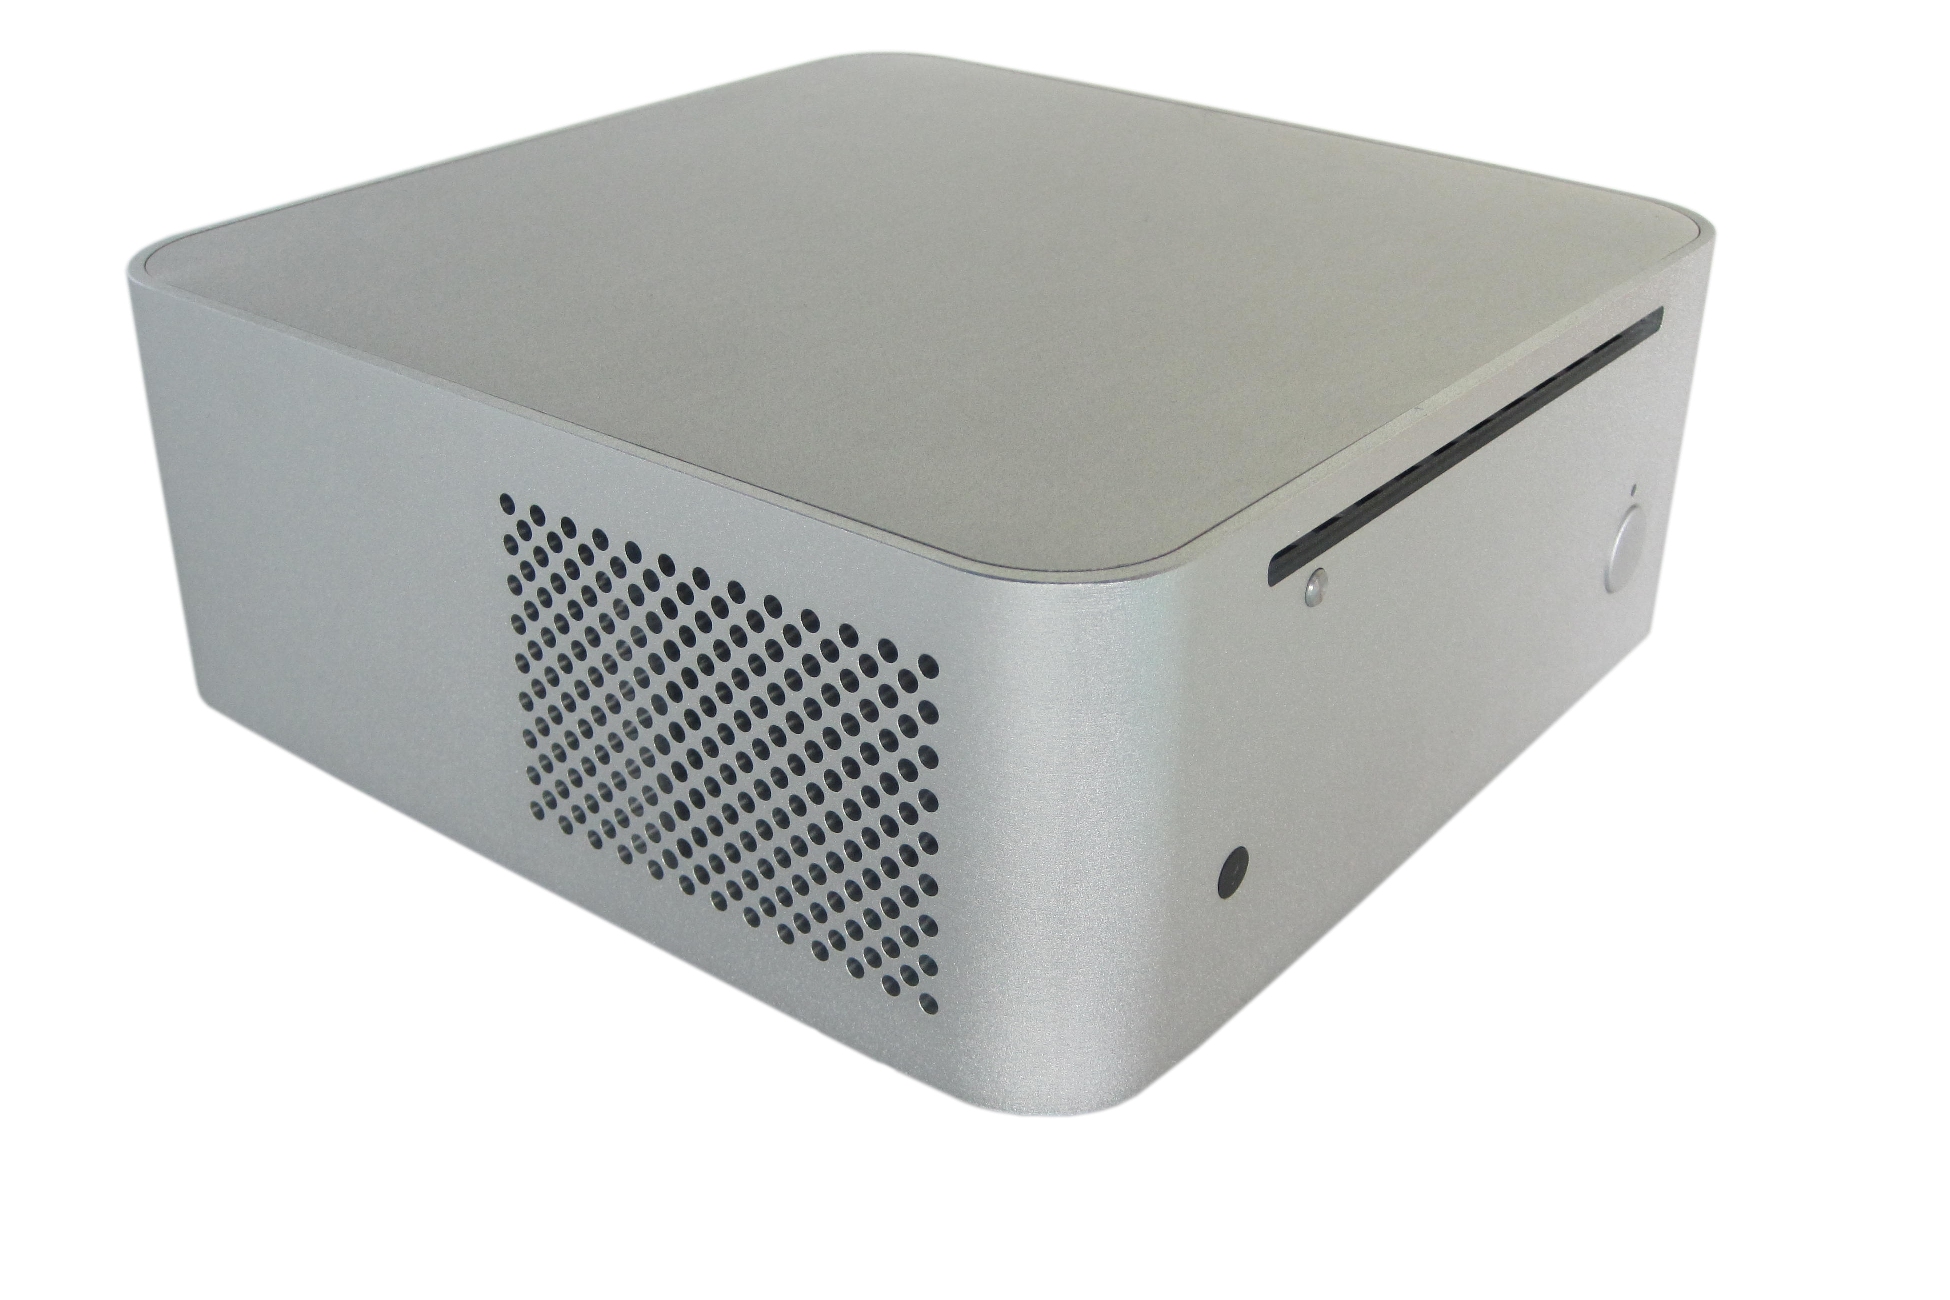
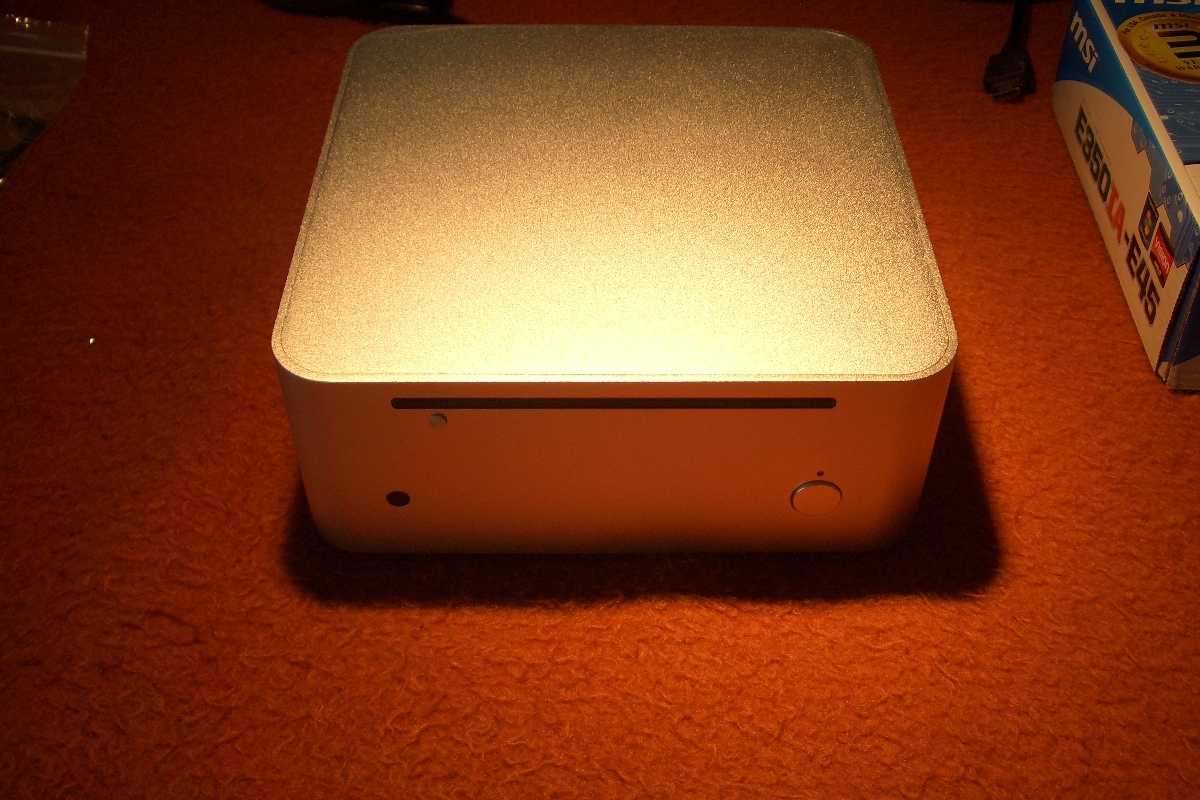
Case itself. Plain, simple and small.
Power button, LED, IR window and ODD slot. |

Remove lid by pushing from inside/back. There are four magnets keeping
lid in place. |
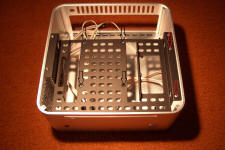
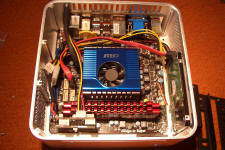
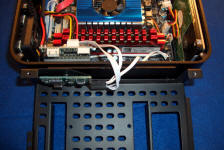
ITX2 - inside. There are two spaces for HDD. I
recommend vertical one. (Red) When you install HDD horizontally, you may
block air access to CPU.
|
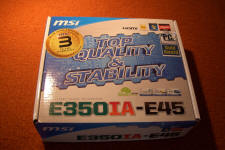
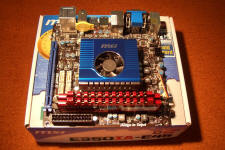
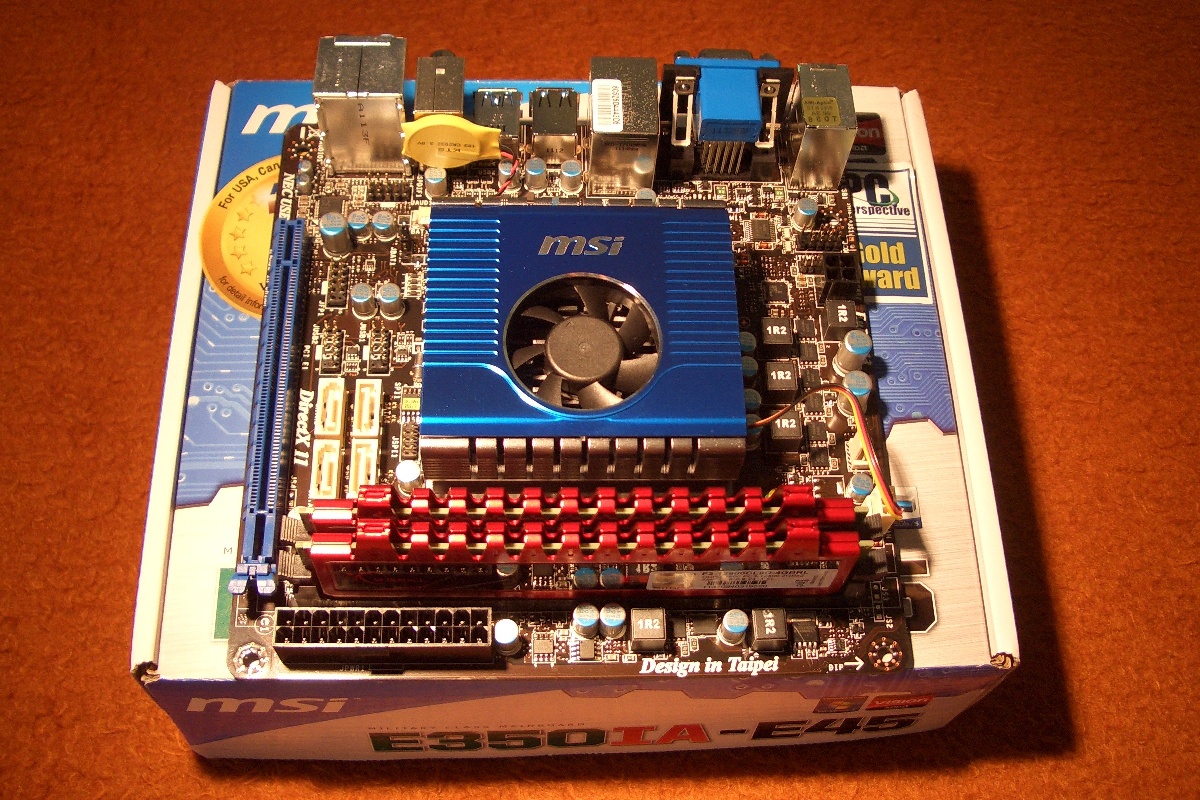
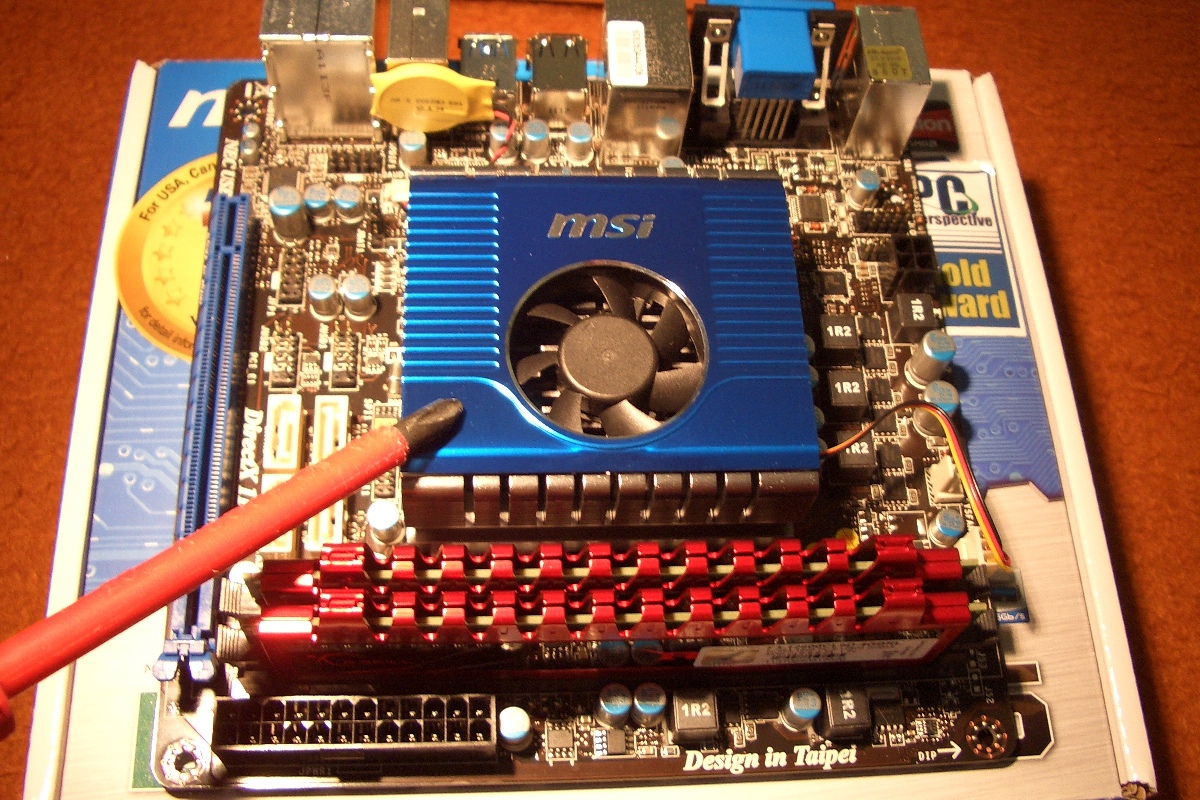
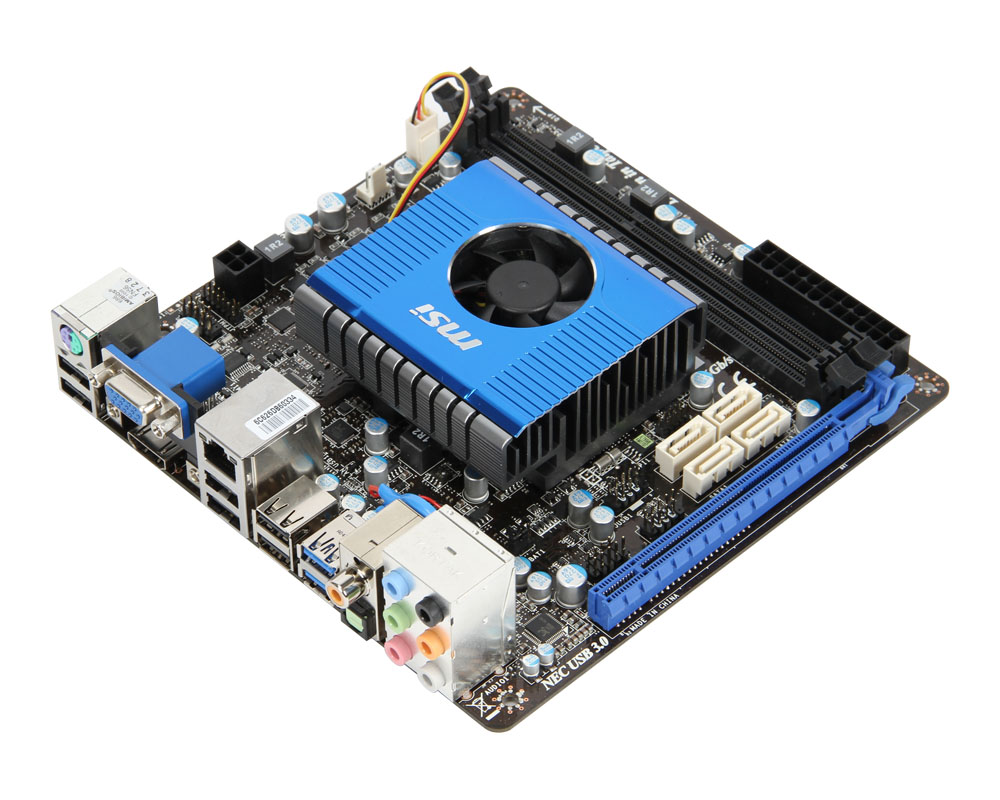
I've chosen this MoBo for my system. Low power,
video output 1080p over HDMI and quiet. |
I installed
G.SKILL Ripjaws Series 4GB
memory. This memory doesn't allow second HDD installation in ITX2
because of these radiators.
|

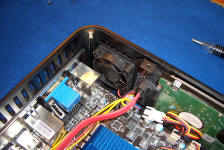
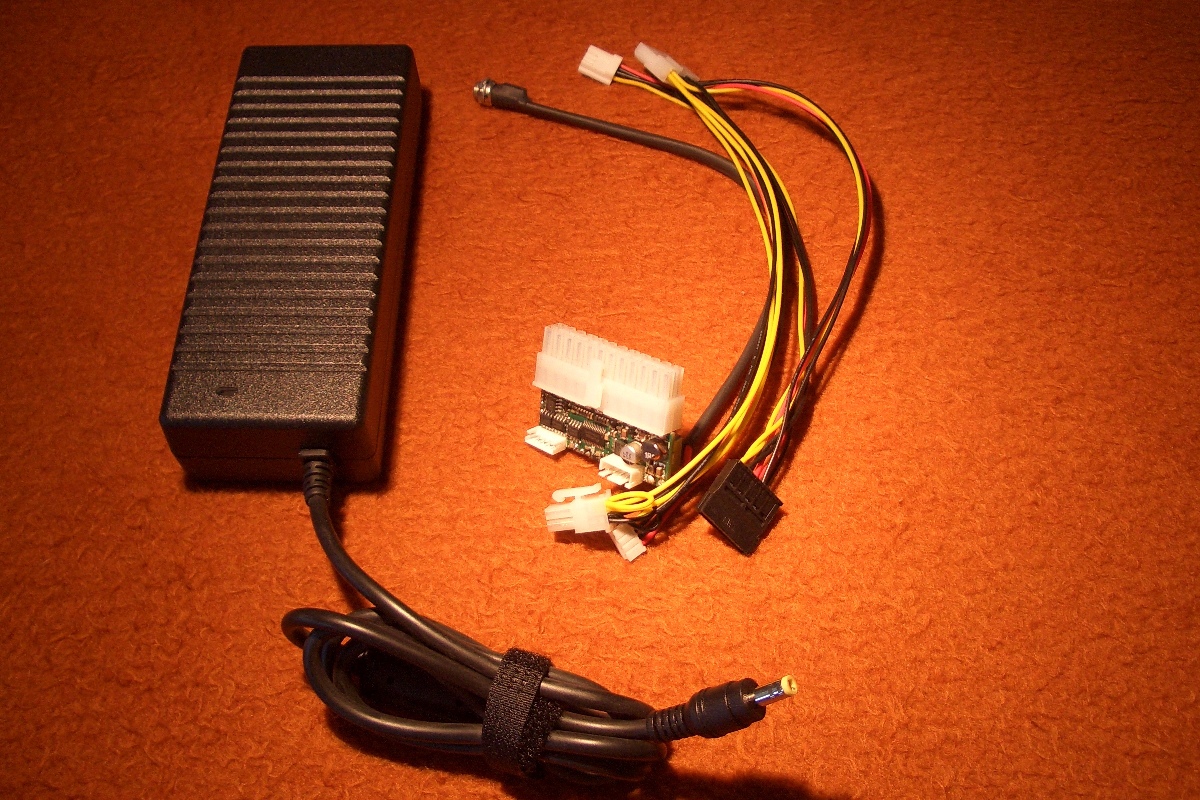
24 pin 150W PSU and AC/DC converter |

I tested DVD player and also BluRay player in ITX2 |
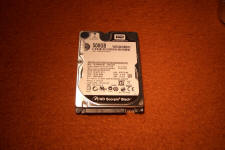
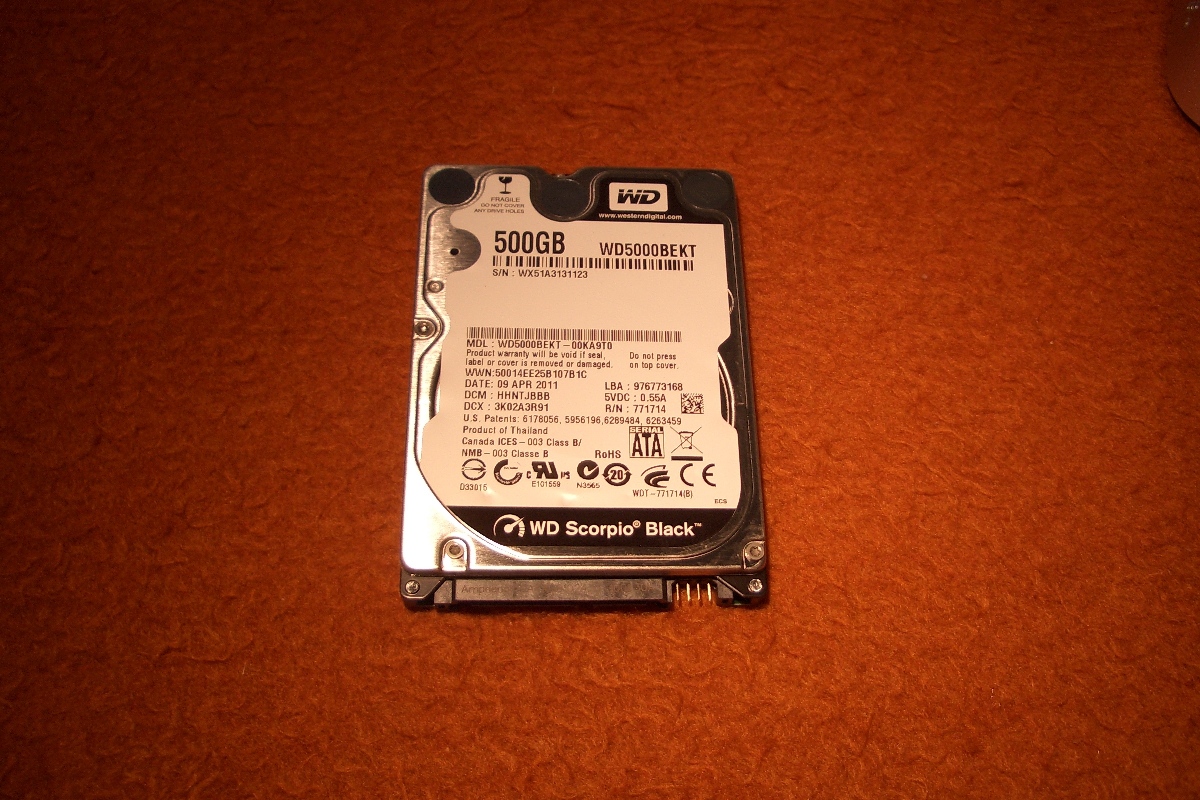
Chosen HDD. I like WD because they are quiet.
You may install SSD. |
|
Assembling |
|
|
|
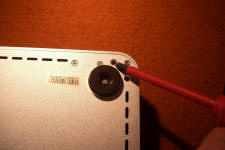
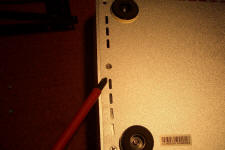
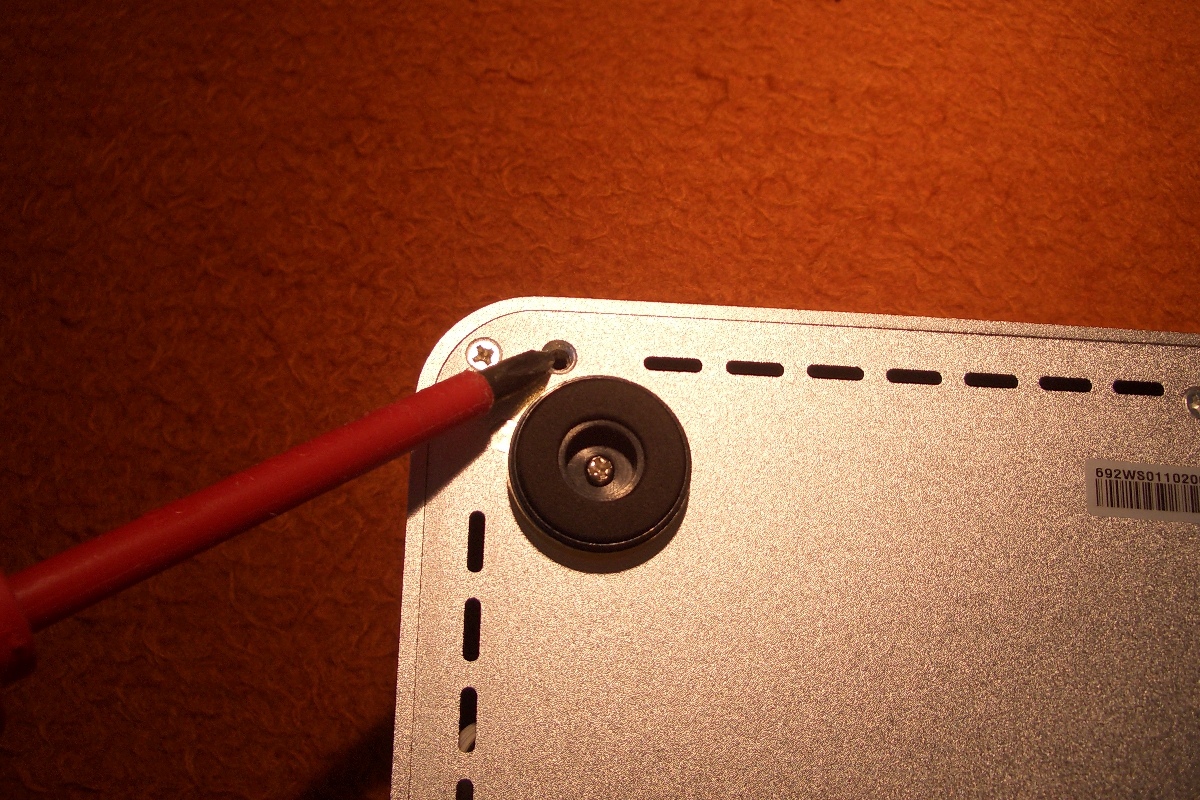
Turn chassis upside down and remove two screws.
|
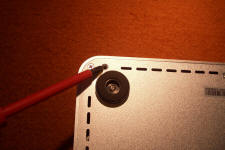 |
Now you have to remove these two screws.
|

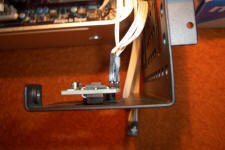
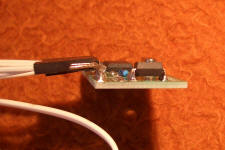
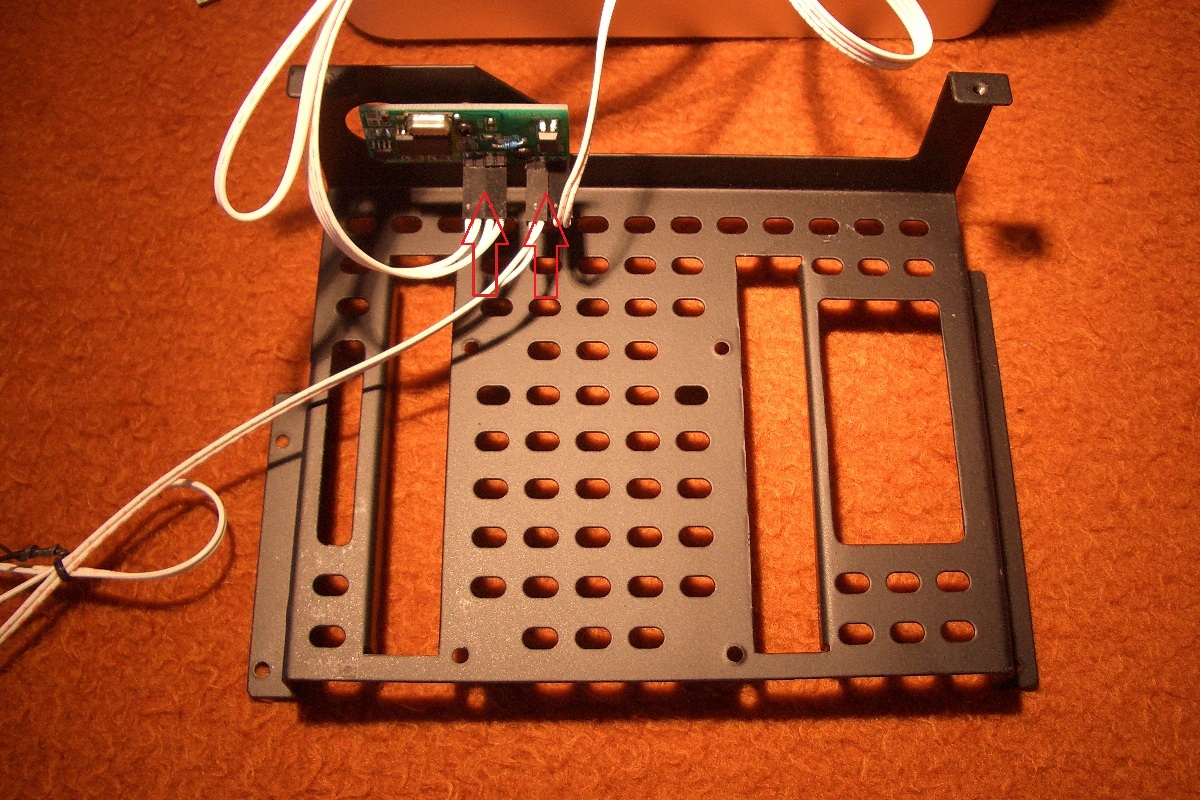
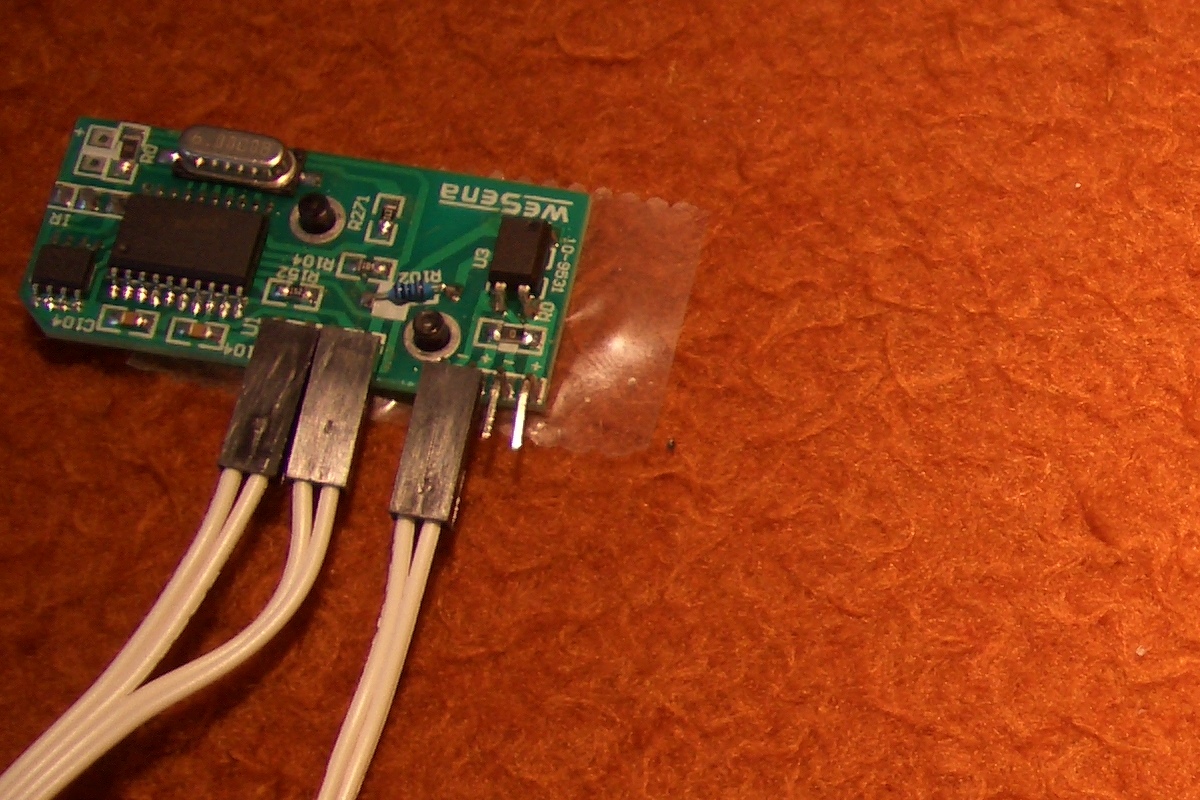
Bracket with IR receiver. Connectors may be in
conflict with some MoBos, including this one.
|

Remove plastic from HS!
|

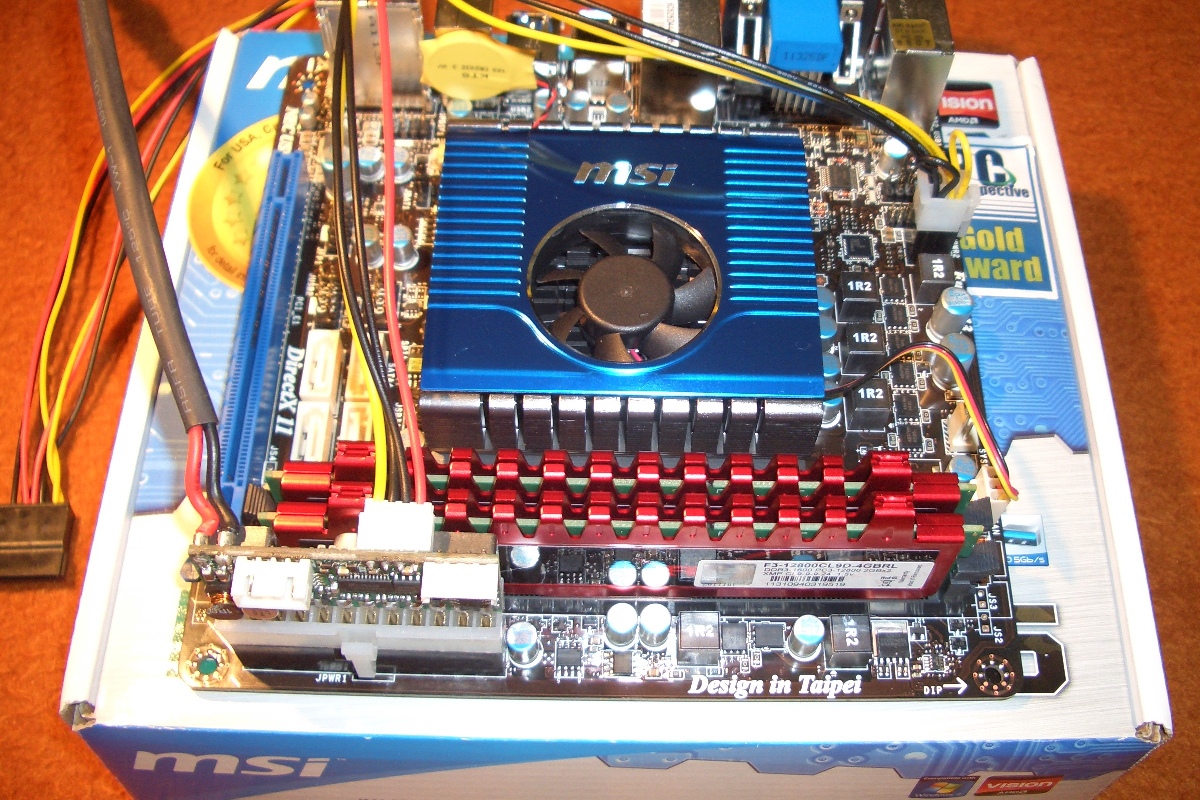
Install PSU.
Higher radiators on memory = conflict with PSU and
ODD bracket.
This is maximum memory height for ITX2.
|
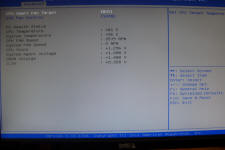
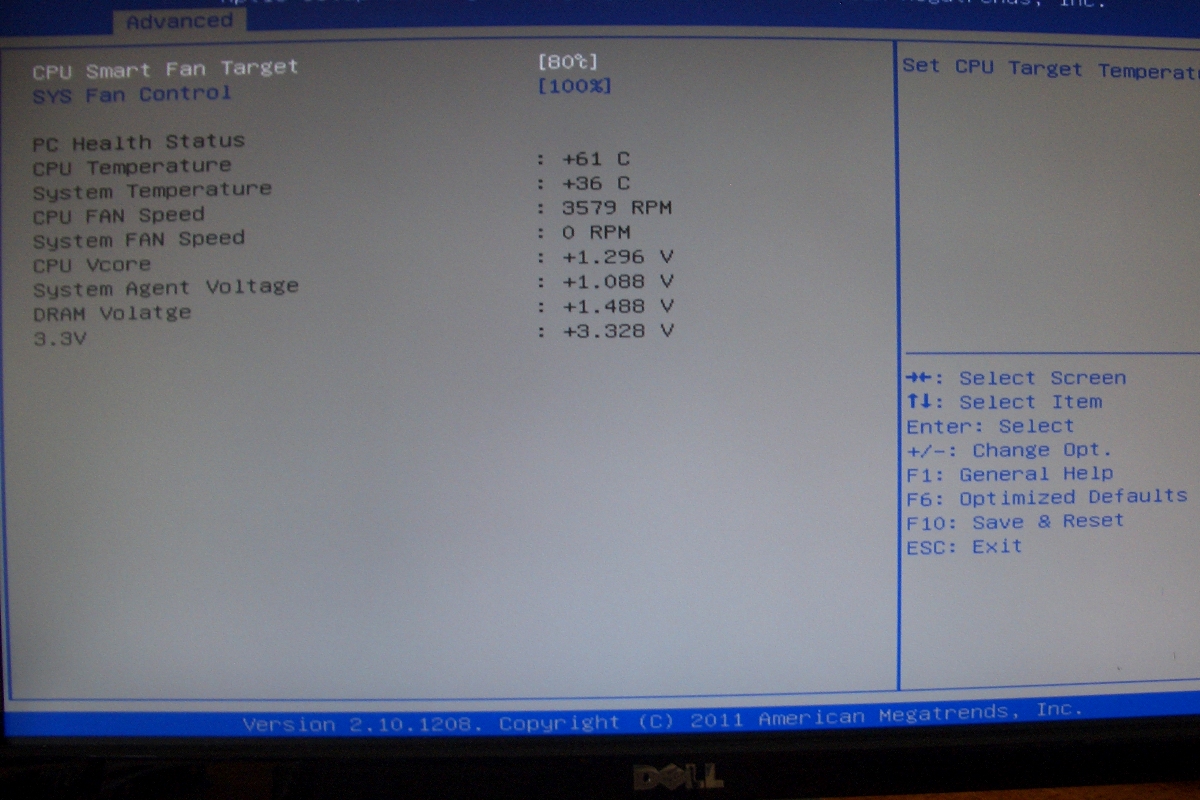
Now you can connect monitor and keyboard, power your
MoBo, test it and setup BIOS.
Temperature reads high, but HS and mobo under CPU
is cold. It reads 54 deg C from cold start.
|
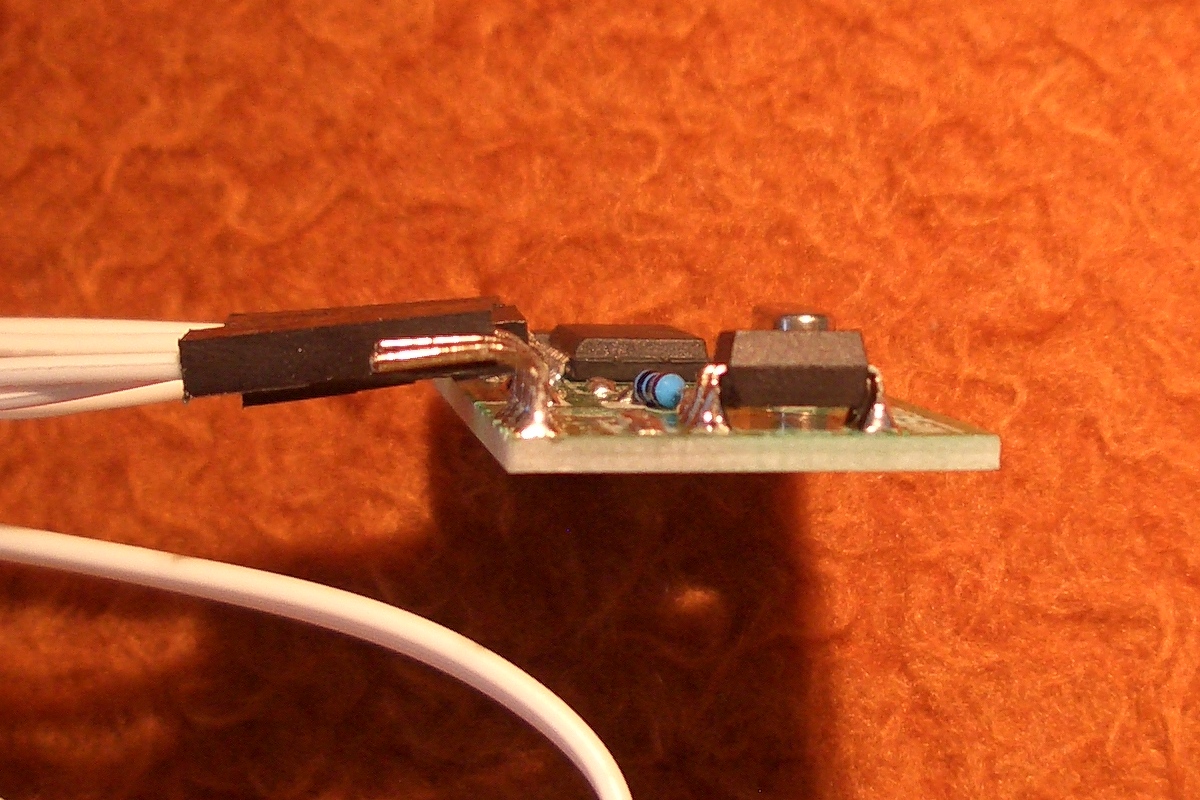
If IR connectors are in conflict with your components,
you have to carefully bend pins.
|
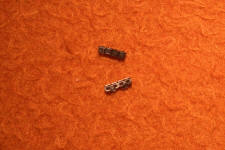
Remove plastic first.
|
Then very carefully bend pins properly supporting
their bottom.
If you do it improperly - you may damage IR
board or Power On and LED board.
|
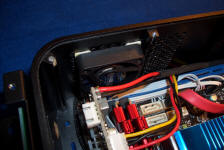
No conflict with PSU installed in my Mobo. |

HDD installation. Proper way to install it.
I always test HD and even install OS on HD BEFORE
installing HD in chassis. |
| I didn't have 40mm
fan, so I didn't show how to install it, but it is very easy.
You install it on the fan bracket first and
install bracket with fan next to HDD |
Two screws keeping HDD in place.
|
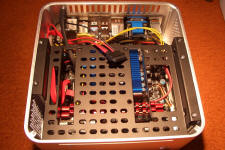
MoBo inside so time for cables. I used 8" SATA cable for HDD
Please don't use memory taller than G.SKILL Ripjaws Series. |
Install bracket. Check if everything is correct,
it there is no conflict between components. No conflict? Remove
bracket and install ODD
|
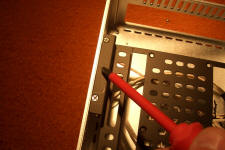
Install bracket, fasten two screws to HD and four to
chassis (Two in the bottom - remember?)
|

FINISHED.
Now - software installation.
|

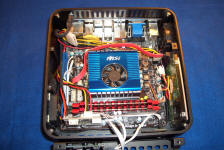
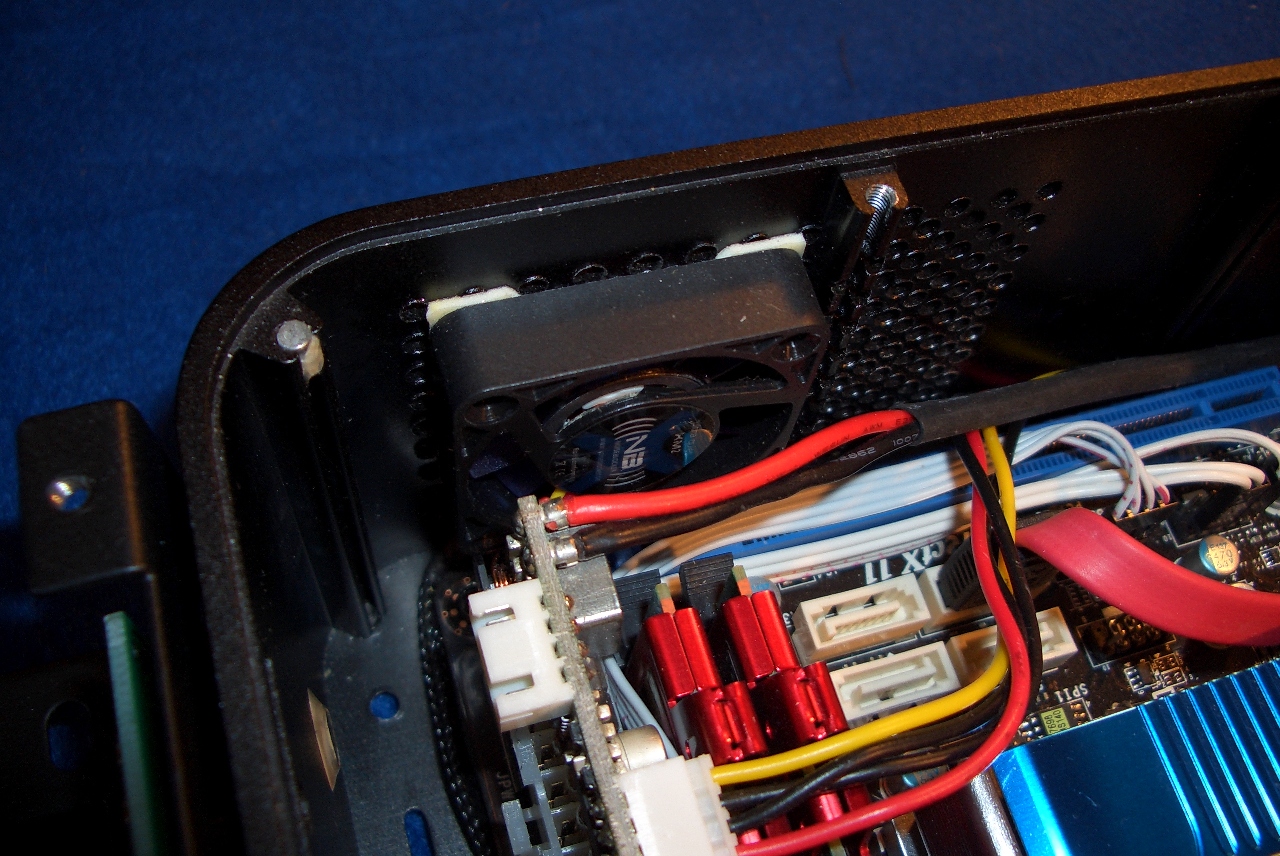
Another system in black chassis. Two fans
installed. Fan splitter required for this mobo. HD connected by 8" SATA
cable. |
Both fans are identical NB-BlackSilentFan XM2
|
 |
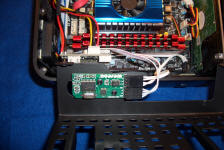
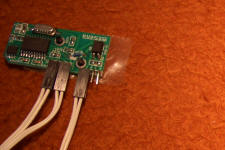
I use IR receiver with bended pins to fit in ITX2
|
and short cables I made myself.
|
No cable clutter in my chassis.
|
| |
|
|
|


.jpg)