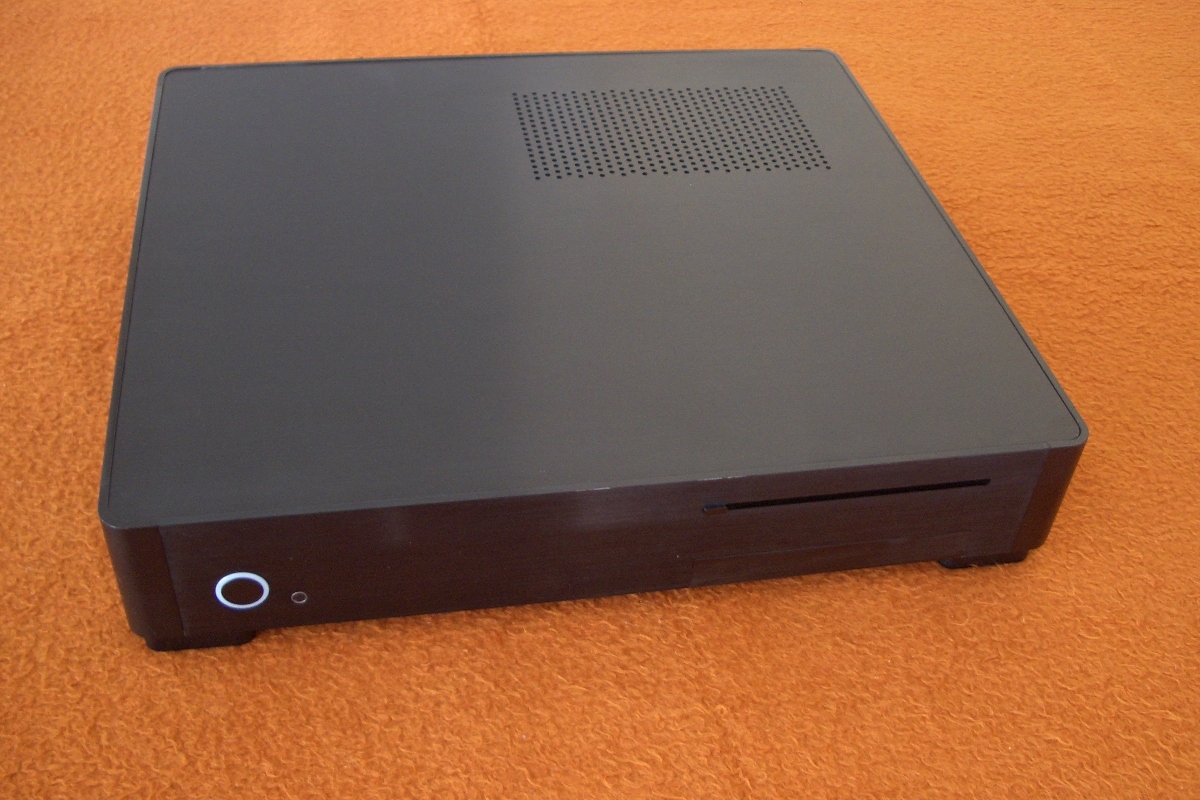
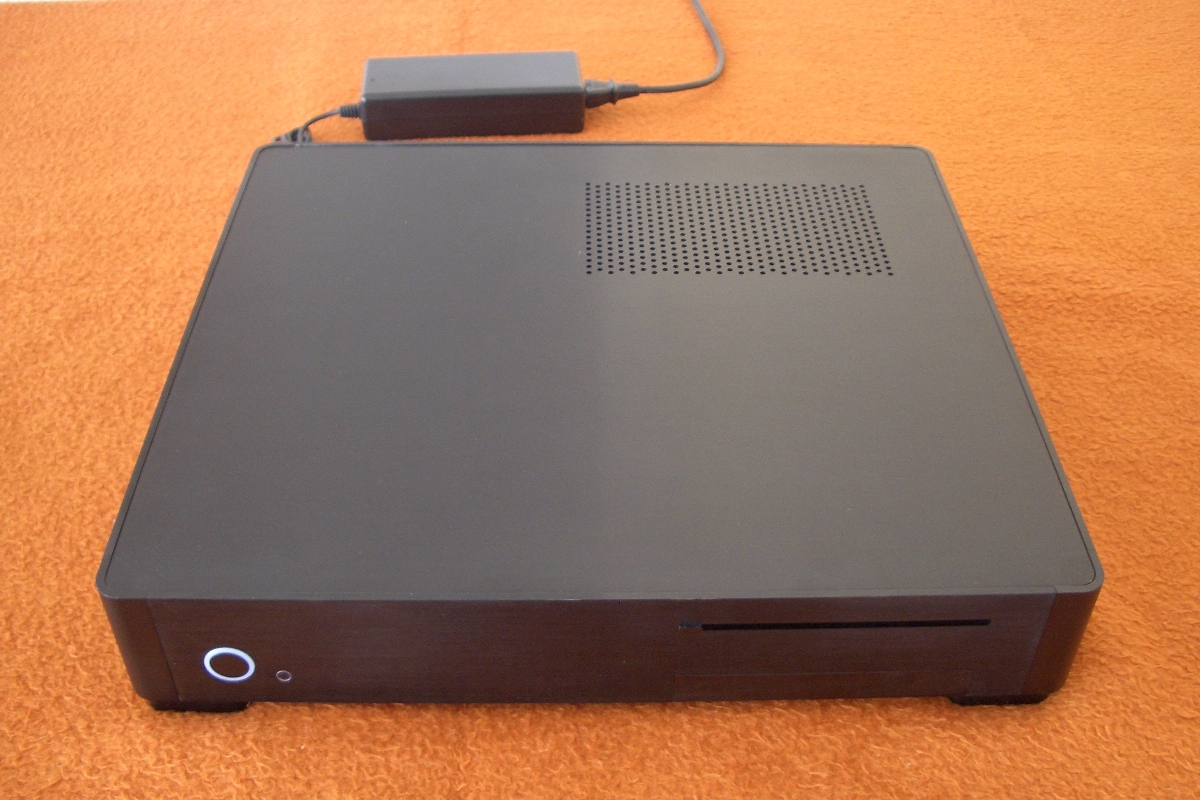
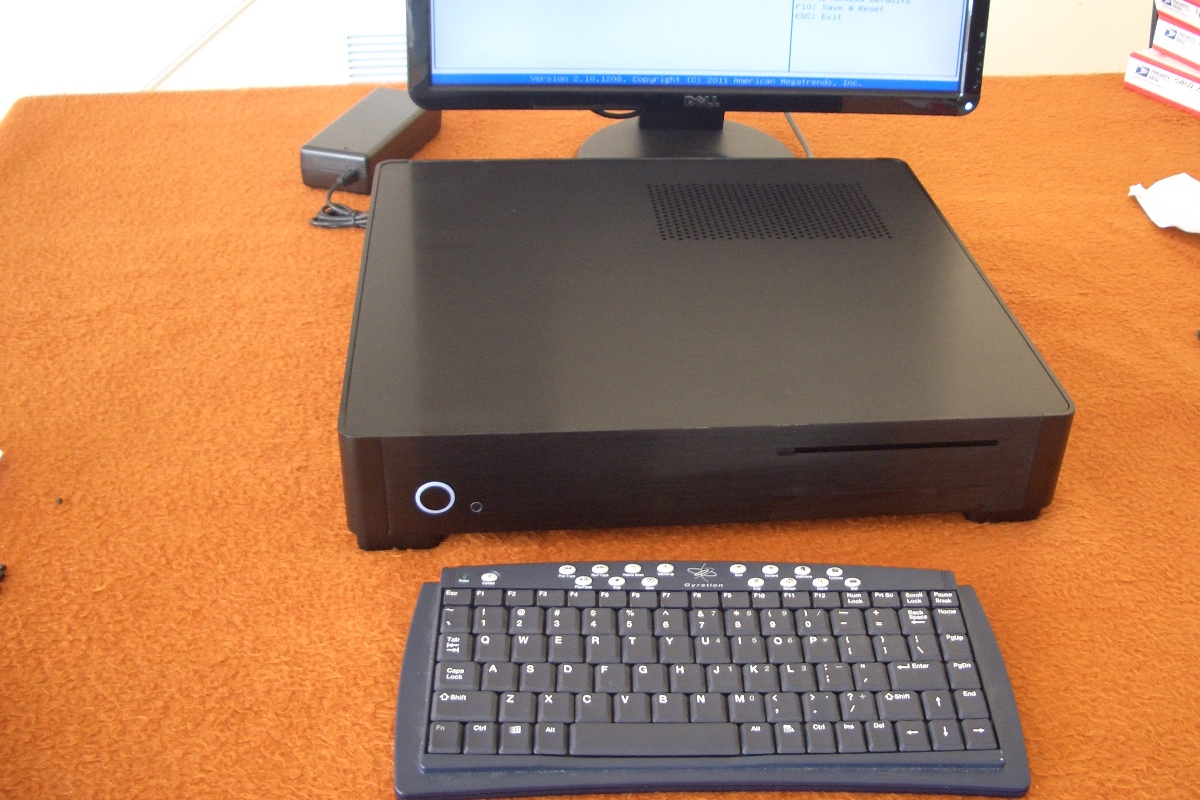
Case itself. Plain, simple and flat.
Power button, LED. IR window and ODD slot. |
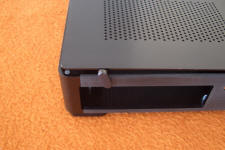
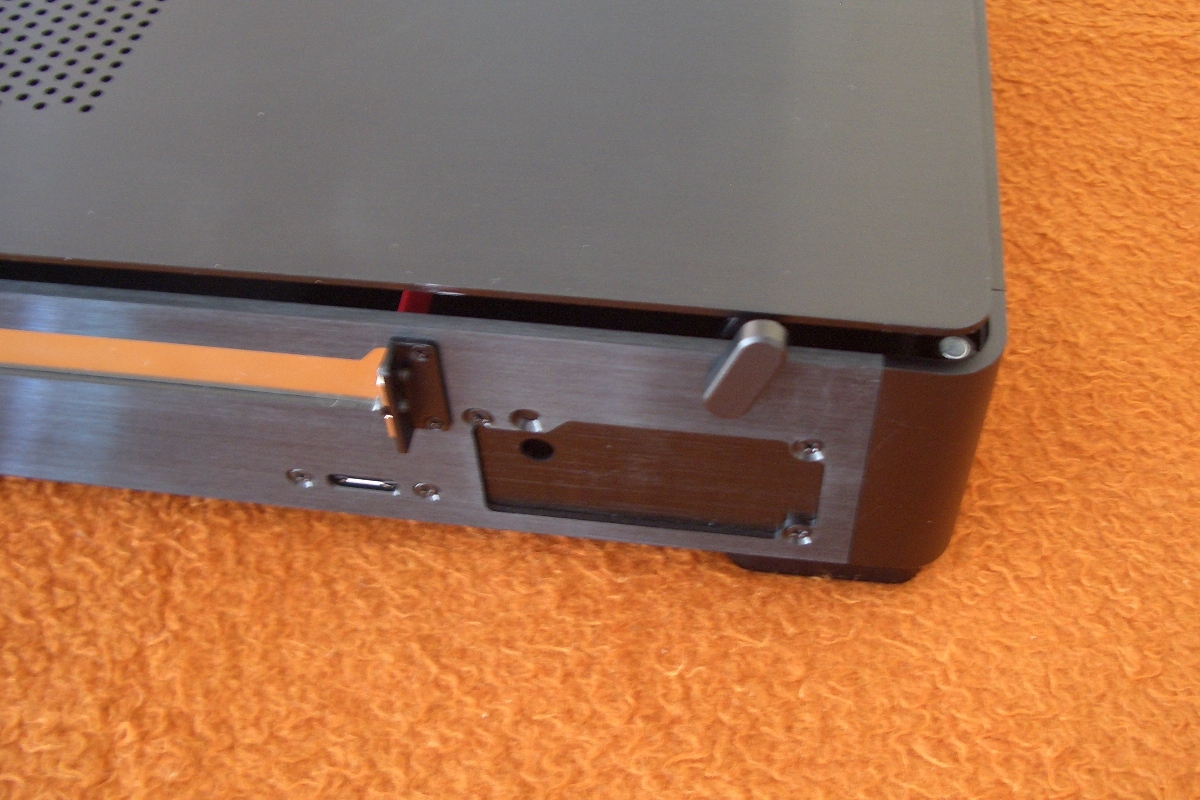
Use two levers to rice a lid. |

There are magnets keeping
lid in place. |
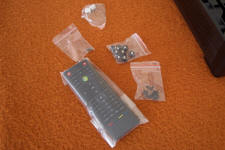
Remote and screws. |
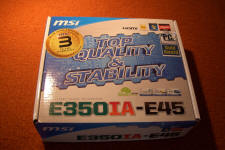
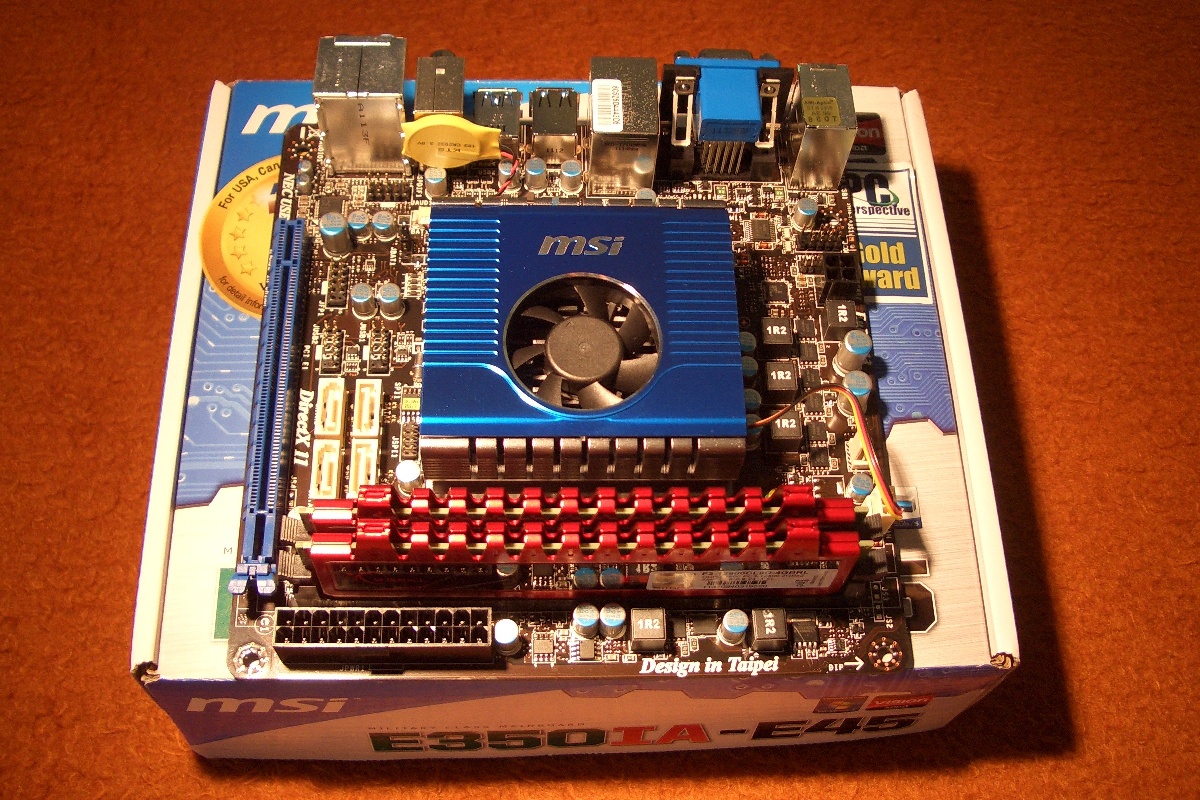
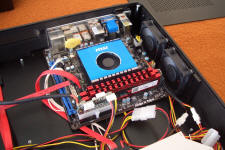
I've chosen this MoBo for first assembling. Low power,
video output 1080p over HDMI and quiet. |
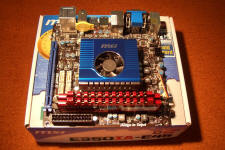
I installed
G.SKILL Ripjaws Series 4GB
memory and tested MoBo before installing it into e5.
|
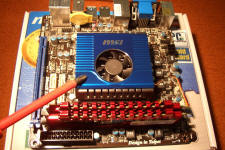
Remove plastic from radiators!
|

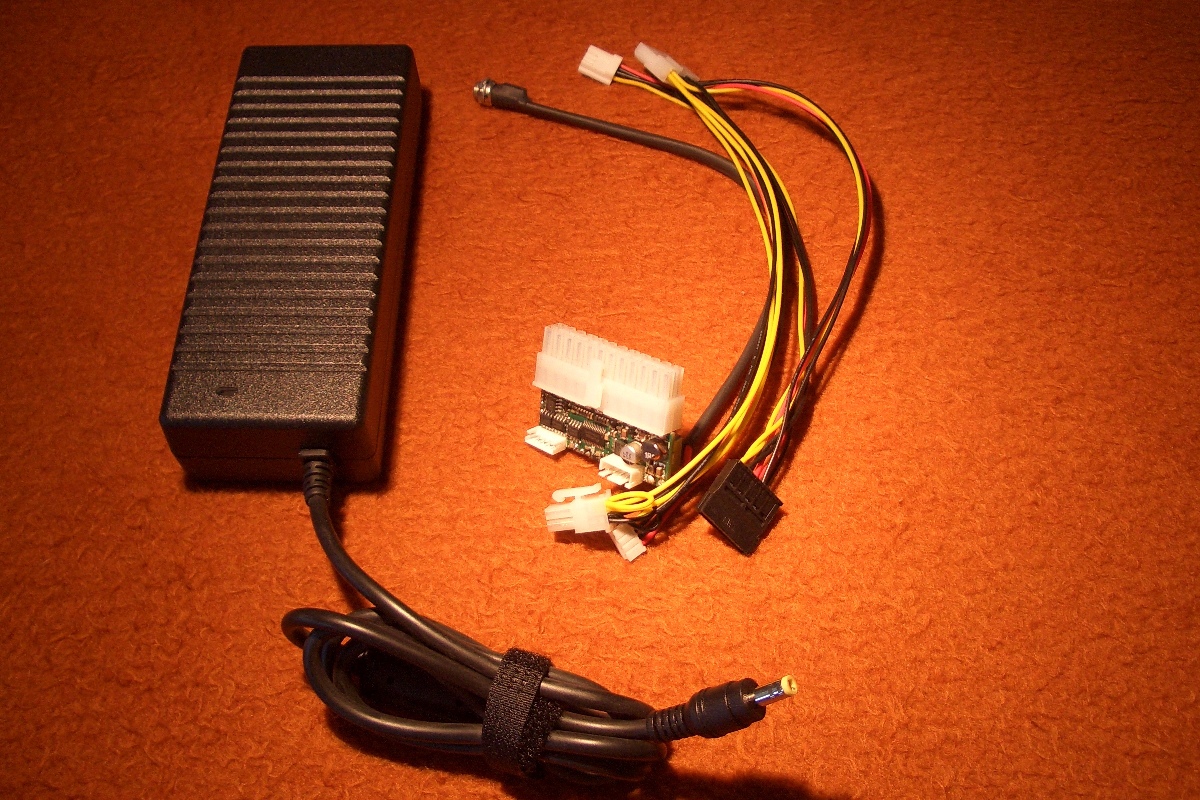
24 pin 150W PSU and AC/DC converter as an option 1.
You can use FLEX power supply as well. |
|
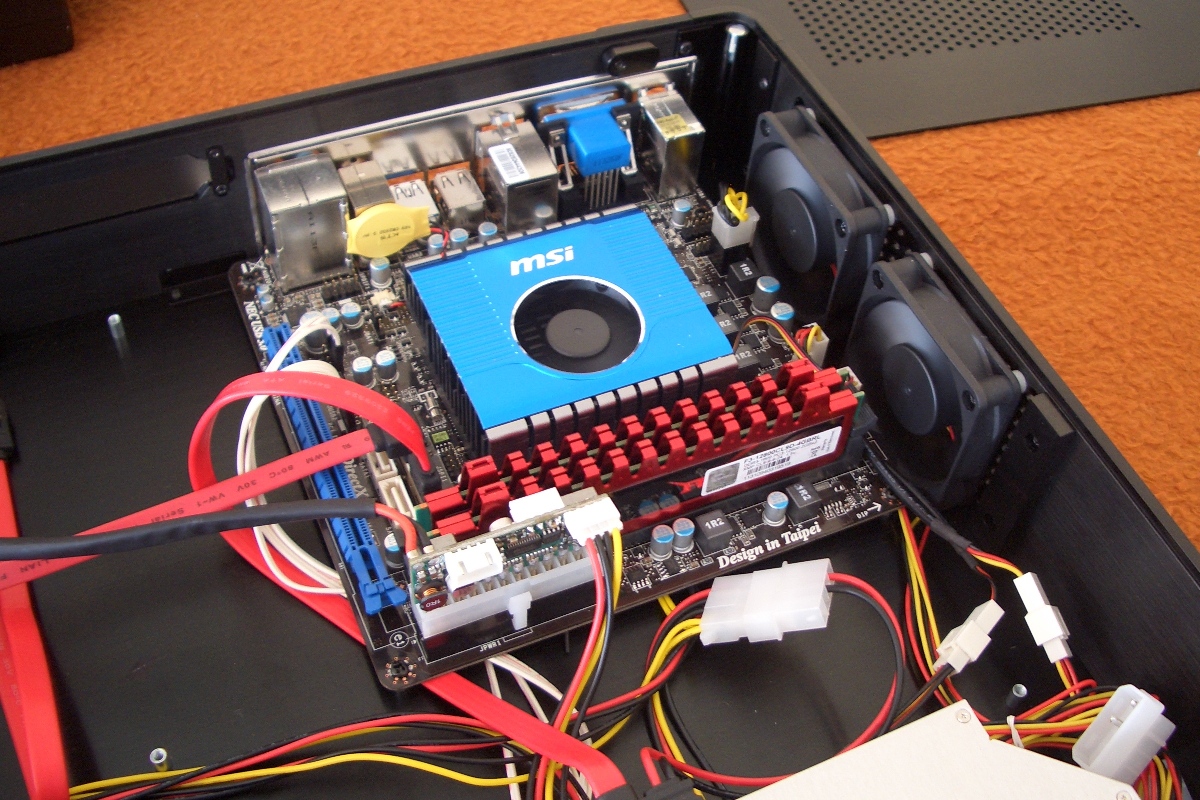
Assembling ITX MoBo in e5 |
|
|
|
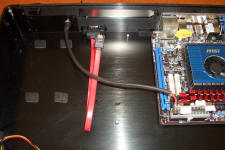
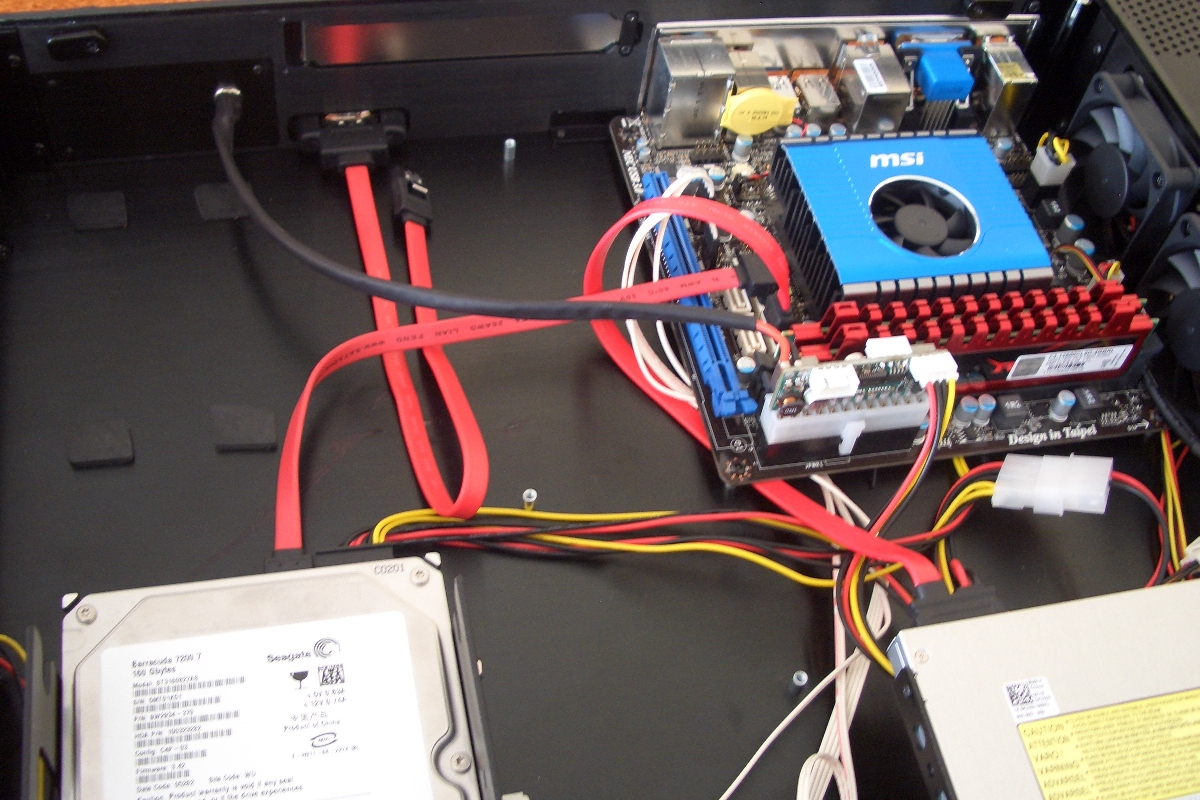
e5 - inside: Space for flex PSU, full size slot and
MoBo. There is eSATA cable installed to connect to eHDD chassis.
|

I am not going to use any card this time so I put
wires under MoBo over PCIE slot
|
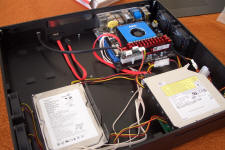
Case fans connected to MoBo by three Y splitters.
Two fans on the left are installed as IN and two on
the right as OUT
|

HD connected by 8" SATA cable. This HD is for
demo only. I use WD 2TB and 3TB only in my systems.
|

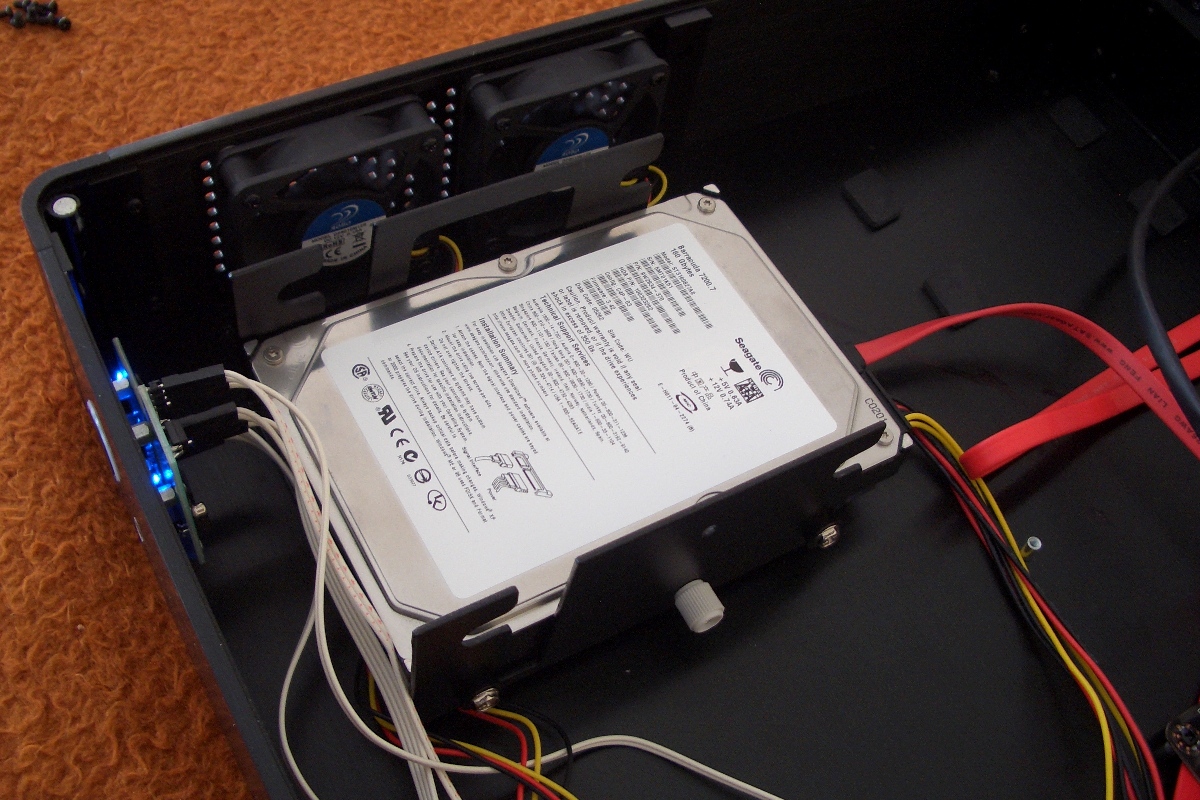
Holder for two 3.5" HDDs with two fans cooling them.
|
System powered on, checking if everything is OK |

Lid on. |
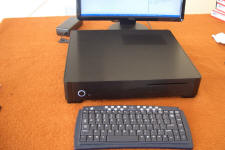
Time to install software |
| |
|
|
|